AI CHARACTERS · HOW-TO GUIDE
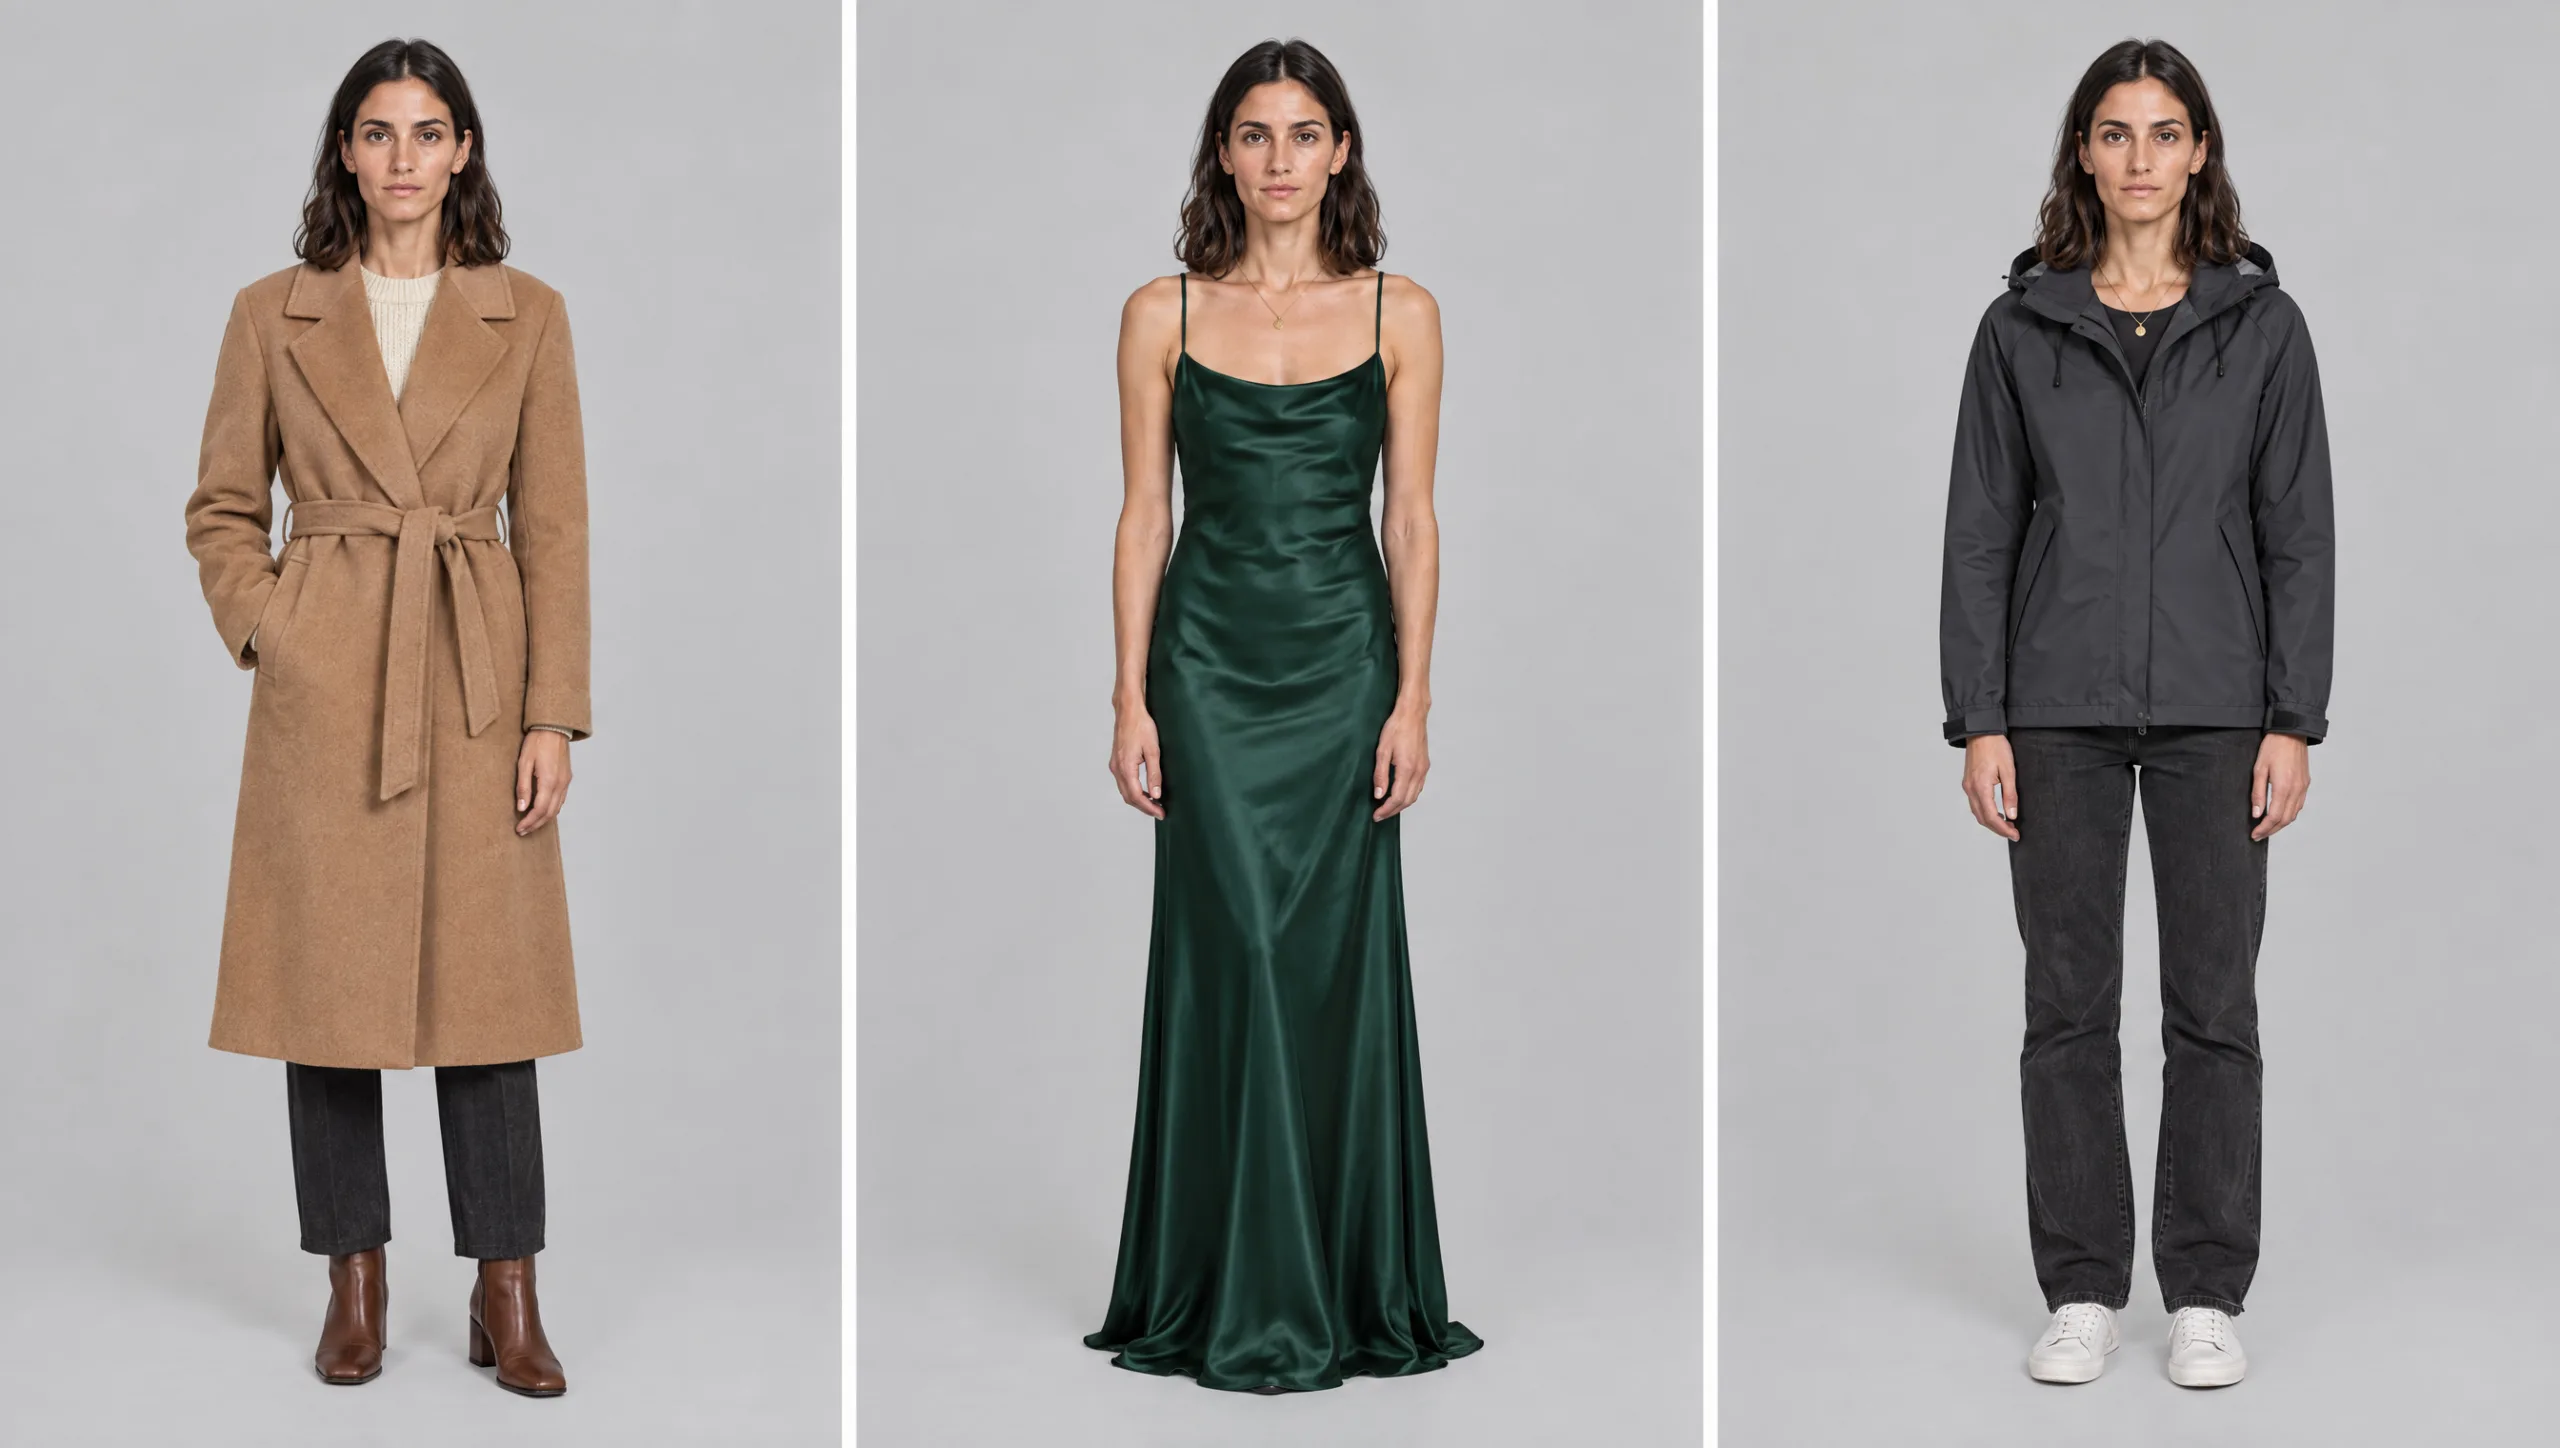
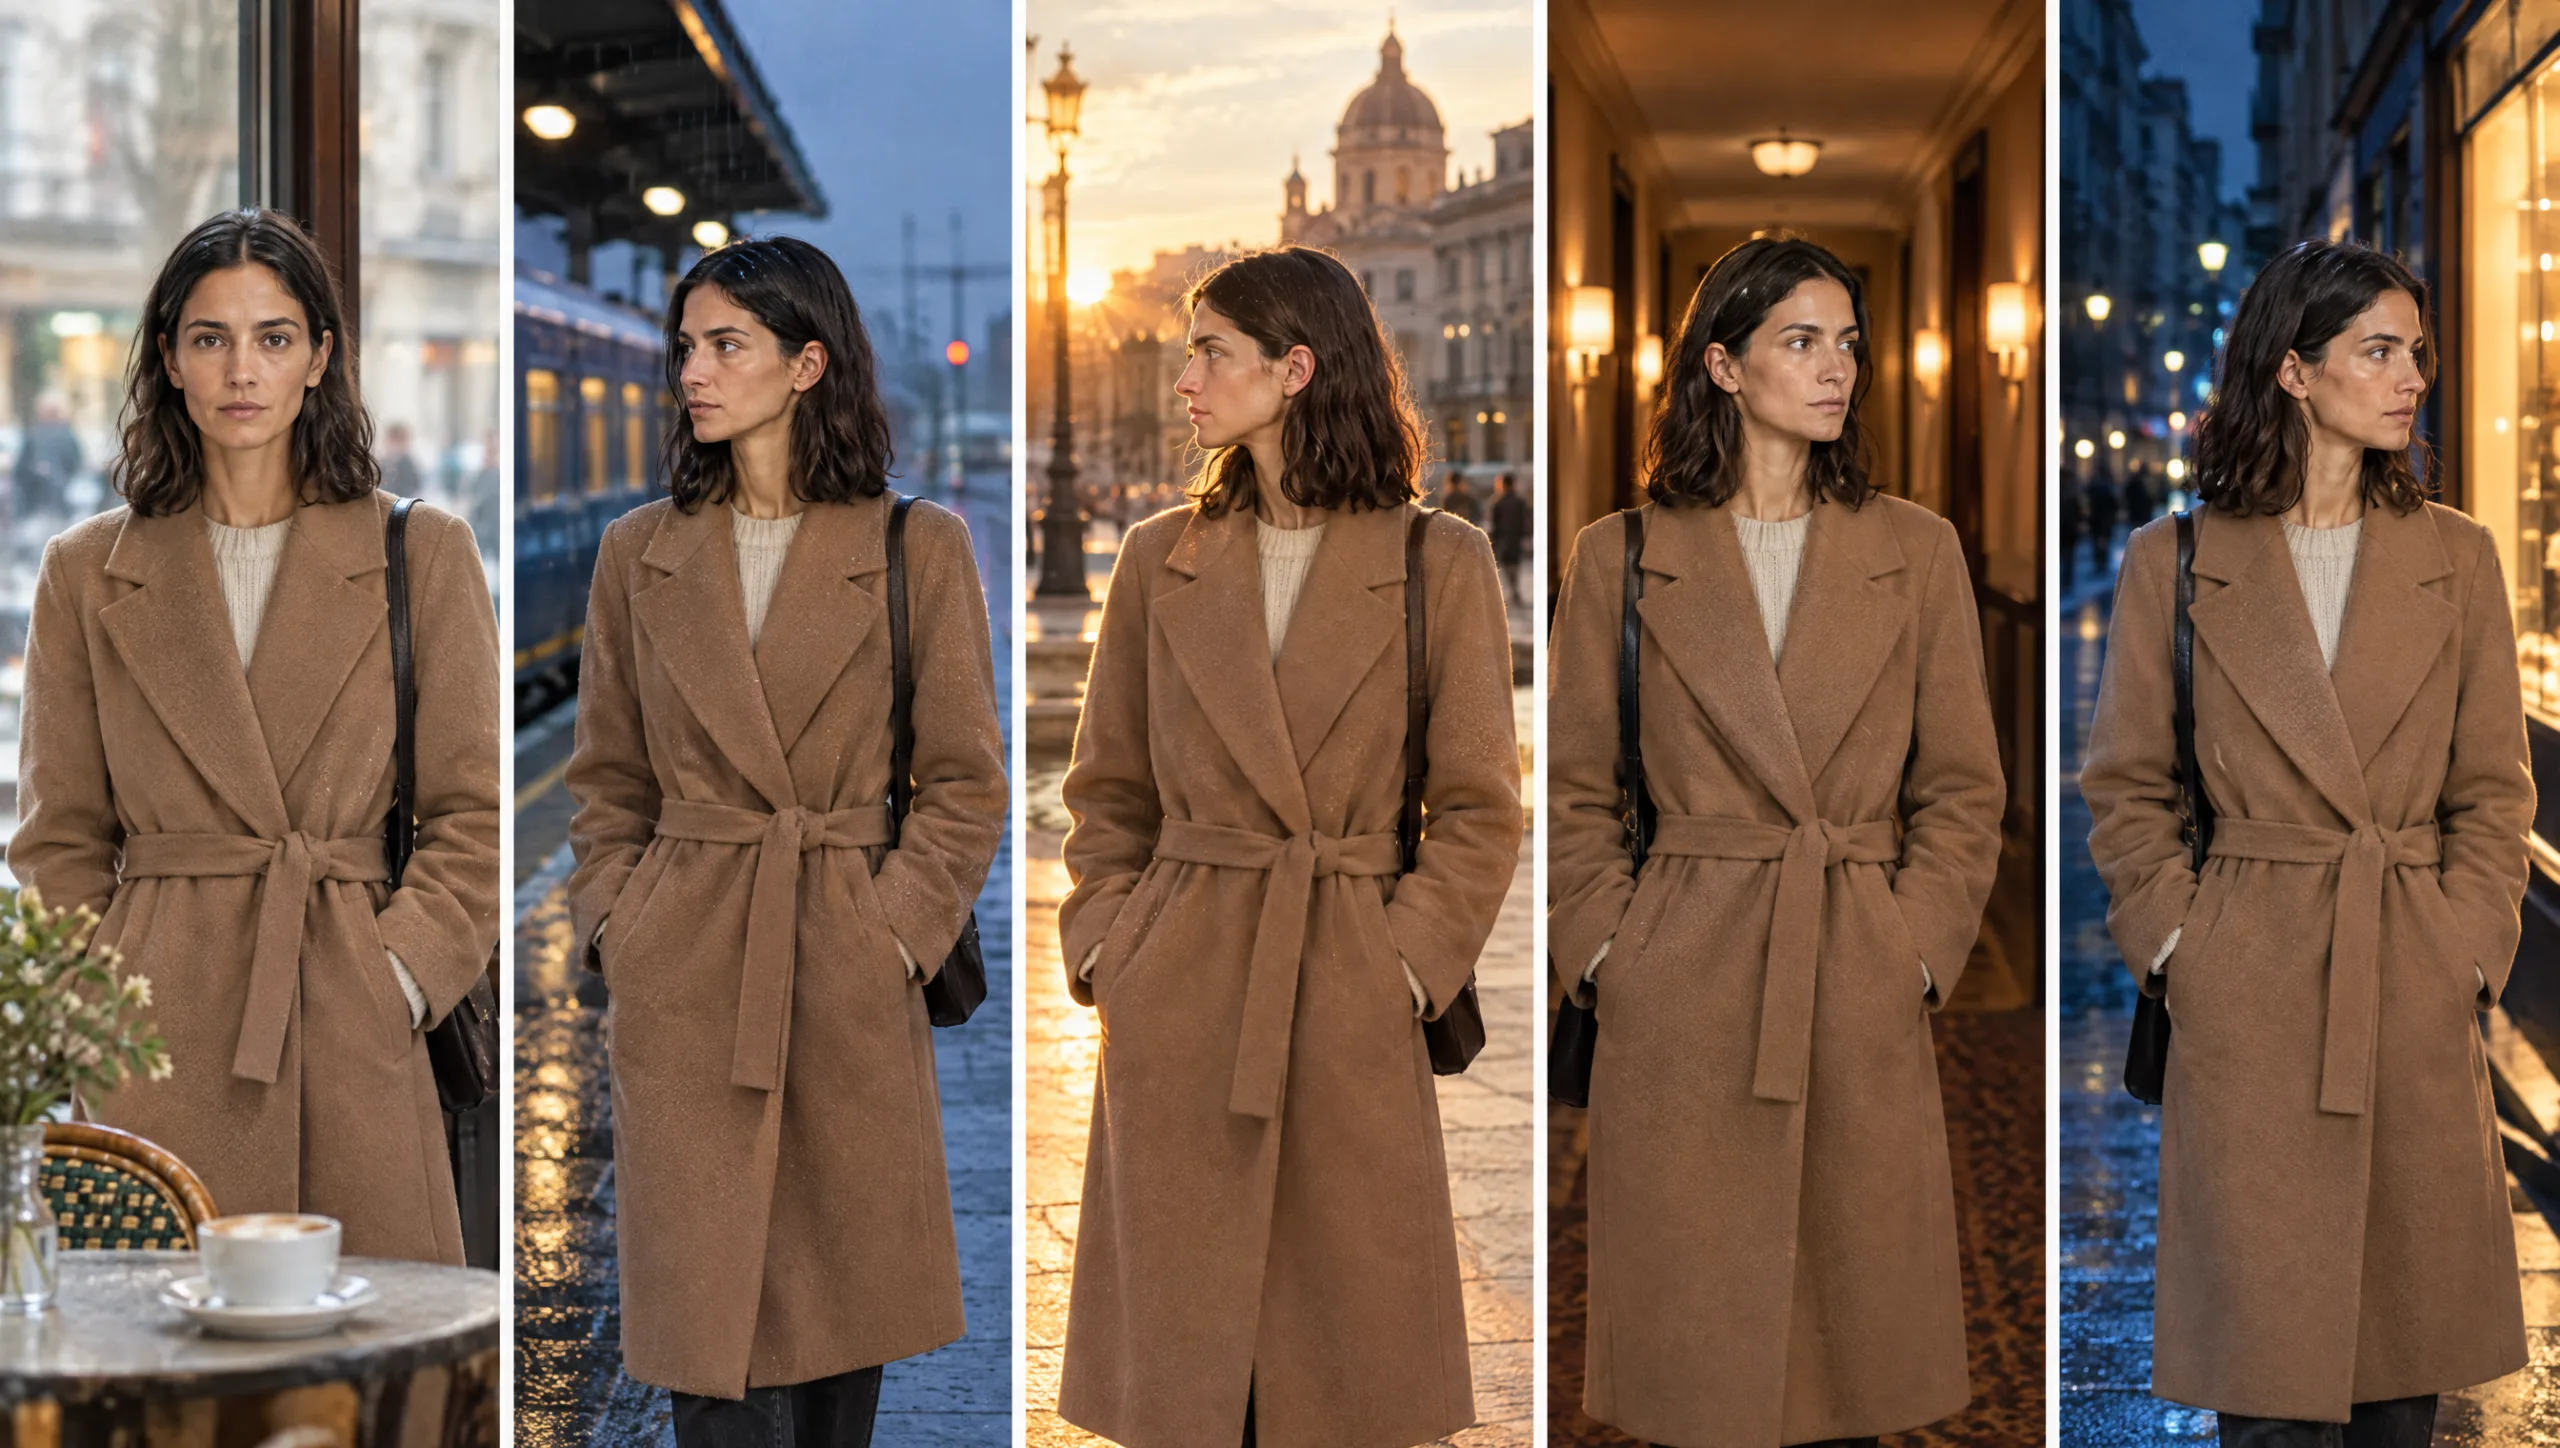
You have done the hard part. The face holds from shot to shot, and the outfit holds with it. Then the script asks for something new. Scene one is the camel coat, scene twelve is an evening dress, scene twenty is the same coat soaked through in the rain. The moment you change the clothes, the face wobbles, the new outfit refuses to settle, or a ghost of the old coat comes back. An AI character outfit change is not one prompt. It is a small system, and this guide gives you the whole of it. You get a wardrobe plan, a lock and a reference sheet for every outfit, a scene prompt that changes only the clothes, and an audit that catches drift before it reaches the edit.
At a glance
- Keep identity and wardrobe as two separate layers.
- Write a wardrobe plan that says which outfit is live in which scene.
- Lock each outfit in words, with no more than three signature details.
- Generate a reference sheet for each outfit on the same grey background.
- Change the outfit in a scene by changing only the wardrobe layer.
- Treat wet, torn or half-removed outfits as states, not new outfits.
- Audit every outfit change against its sheet before you keep the frame.
You will need: a consistent character, ideally a trained Higgsfield Soul ID, the character’s first wardrobe lock, and Claude or ChatGPT for the writing steps.
Why the Face Moves When the Clothes Change
An image model does not know where your character ends and her coat begins. If the identity and the outfit were always generated together, the model has learned them as one object. Change the coat and you have changed part of the object, so the face shifts with it.
The fix is structural. Your identity lives in one place, a trained Soul ID or an approved turnaround in a plain grey T-shirt. Wardrobe lives somewhere else, in a written lock and a reference sheet per outfit. When you change the outfit, you swap the second layer and leave the first alone. The rest of this guide is that idea, step by step.
If your Soul ID was trained on frames that included a costume, this is the moment to retrain it on clean identity sheets. My guide to building a character sheet in Higgsfield covers the exact order.
Step 1: Write the Wardrobe Plan
Before you generate anything, decide which outfit is live in which scene. A wardrobe plan is a short list, one line per scene, with the outfit name, its state and any continuity note. It stops you inventing clothes at the prompt box, which is where most accidental outfits are born.
Prompt 1: Wardrobe Plan Builder (run in Claude or ChatGPT)
You are a costume designer on a short film. From the scene list below, write a wardrobe plan. For each scene give: scene number, outfit name, state (clean, wet, dusty, torn, coat off, sleeves rolled), and one continuity note about what carries over from the previous scene. Use the fewest outfits the story allows. Give each outfit a short name I can reuse in prompts, such as OUTFIT A: camel coat. Keep every line under 25 words.

Character: [CHARACTER NAME, ONE LINE]
Scenes: [NUMBERED LIST OF SCENES WITH LOCATION AND TIME OF DAY]
Keep the plan next to your character sheet. Every prompt from here on names the outfit from this list, and nothing else.
Step 2: Lock Each Outfit in Words
Each outfit gets its own lock, written once and pasted unchanged. The rules are the same as for the first outfit. Name the colour precisely, name the fabric, name the fit and the closure, and choose no more than three signature details. Every extra detail is one more thing the model can change between shots.
Prompt 2: Outfit Lock Writer (run in Claude or ChatGPT)
Write a wardrobe lock for one outfit, for an AI image model. In this order: garment by garment from top to bottom, each with an exact colour (name a real reference such as bottle green or oatmeal), fabric, fit and closure; footwear; up to three signature details that make the outfit recognisable at a glance; jewellery and accessories that stay on. No mood, no setting, no face or hair. Under 80 words. Begin with the outfit name in capitals.

Outfit name: [OUTFIT B: EVENING DRESS]
Brief: [WHAT THE OUTFIT IS AND WHAT IT SAYS ABOUT THE CHARACTER IN THIS SCENE]
Carry-over items: [NECKLACE, WATCH, RING, OR NONE]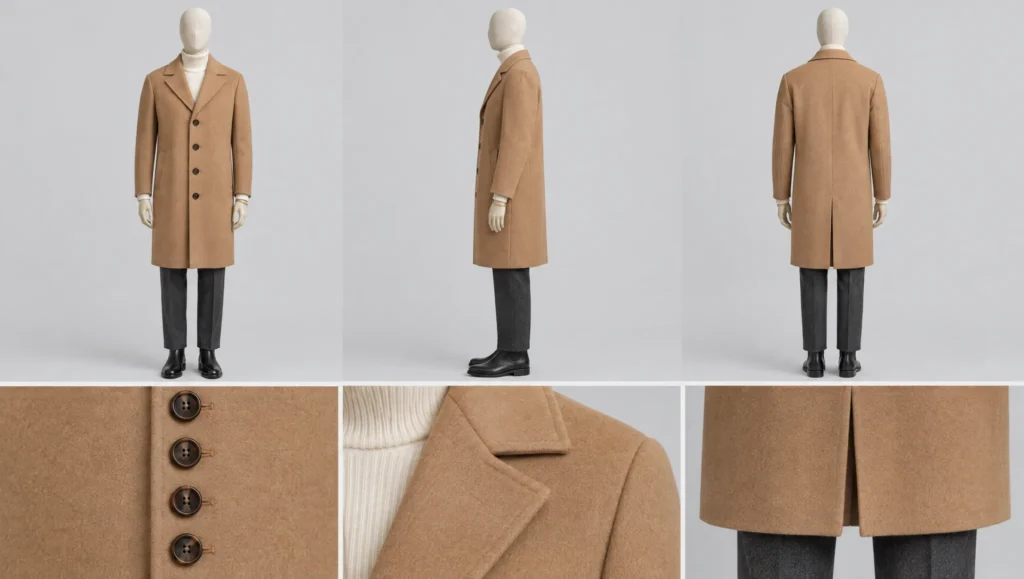
Notice the carry-over items. A necklace or a watch that stays on across every outfit is a quiet anchor. It tells the model, and the audience, that this is the same person even when everything else has changed.
Step 3: Generate a Reference Sheet for Each Outfit
An outfit lock in words is not enough on its own. Each outfit needs a reference sheet, generated with your Soul ID selected and on the same plain grey background as the identity turnaround. Front, side and back views, plus close-ups of the signature details.
Prompt 3: Outfit Reference Sheet (Character tab: your Soul ID)
Wardrobe reference sheet of [CHARACTER NAME] wearing [PASTE THE OUTFIT LOCK]. Three full-length views in a row on a plain light grey background: front, left side, back. Below them, three square close-ups of the signature details: [DETAIL 1], [DETAIL 2], [DETAIL 3]. Neutral expression, arms relaxed, hair as trained. Even soft studio lighting, true colour, photographic realism. No text, no labels.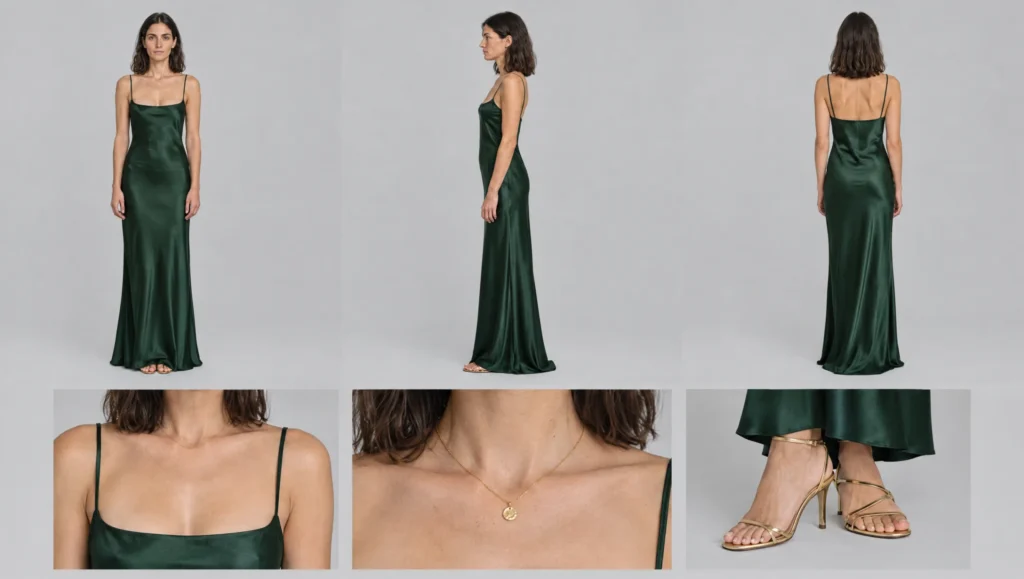
Approve the sheet the same way you approved the turnaround. Is the colour right in flat light? Are the three details visible? Is the face still the face? If anything is wrong, change the words in the lock and generate again. Name the file by outfit, for example mara_outfit_b_sheet.png, and keep every outfit sheet in one folder with the identity sheets.
Step 4: Make the AI Character Outfit Change in a Scene
Now the change itself. The scene prompt follows the same formula as any other scene, with one difference: the wardrobe layer is swapped. Select the Soul ID, attach the new outfit sheet as the image reference, and paste the new lock. Do not describe the face. Do not mention the old outfit, not even to say it is gone.
Prompt 4: Outfit Change Scene (Character tab: your Soul ID · image reference: the new outfit sheet)
Medium shot, 50mm lens, eye level. [CHARACTER NAME] [ACTION IN ONE SENTENCE]. Wearing [PASTE THE NEW OUTFIT LOCK]. Location: [LOCATION IN ONE LINE]. Lighting: [LIGHT IN ONE LINE]. Photographic realism. The face, hair and body match the trained character exactly. The outfit matches the reference sheet exactly.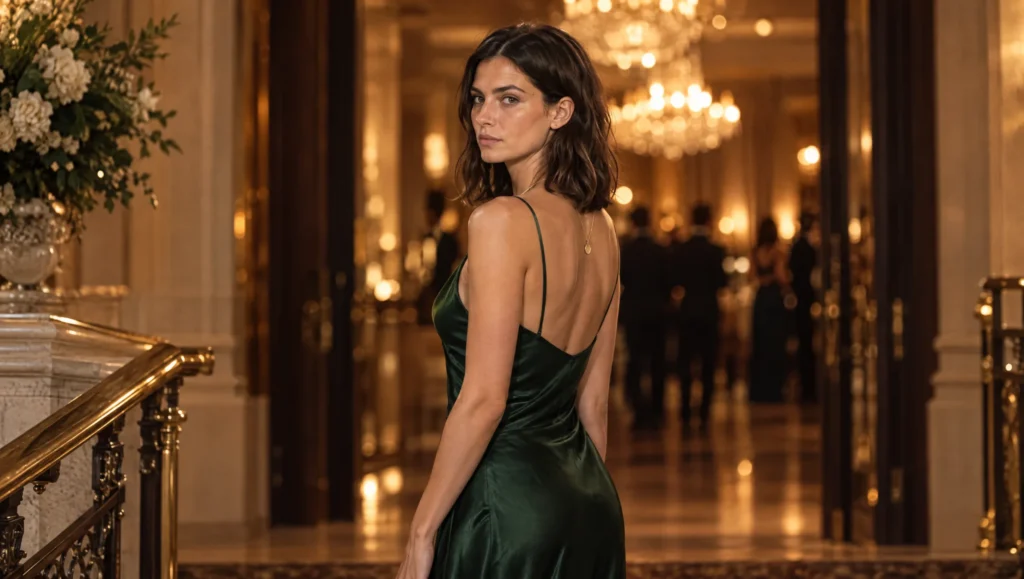
The reference image matters more than the words here. If you attach the last frame from the previous scene, the model sees the old coat and tries to keep it. Attach the new outfit sheet instead, and the identity comes from the Soul ID.
When a later scene returns to an earlier outfit, go back to that outfit’s sheet and lock. Never rebuild an outfit from memory or from a scene frame.
Step 5: Wet, Torn and Half Off: Outfit States
Most costume continuity problems are not new outfits at all. They are the same outfit in a different state. The coat soaked through, the sleeves rolled, the jacket over the arm, the hem torn after the fall. If you write a new lock for each of these, you multiply the places where drift can start.
Treat a state as a one-line modifier on top of the existing lock. The lock stays word for word. The state line is added after it.
Prompt 5: Outfit State Variant (Character tab: your Soul ID · image reference: the outfit sheet)
[PASTE THE SCENE PROMPT FROM PROMPT 4]. State: [ONE LINE, FOR EXAMPLE: the coat is soaked through and darker, water on the shoulders, hair wet and pushed back]. Every garment, colour and detail is otherwise identical to the reference sheet.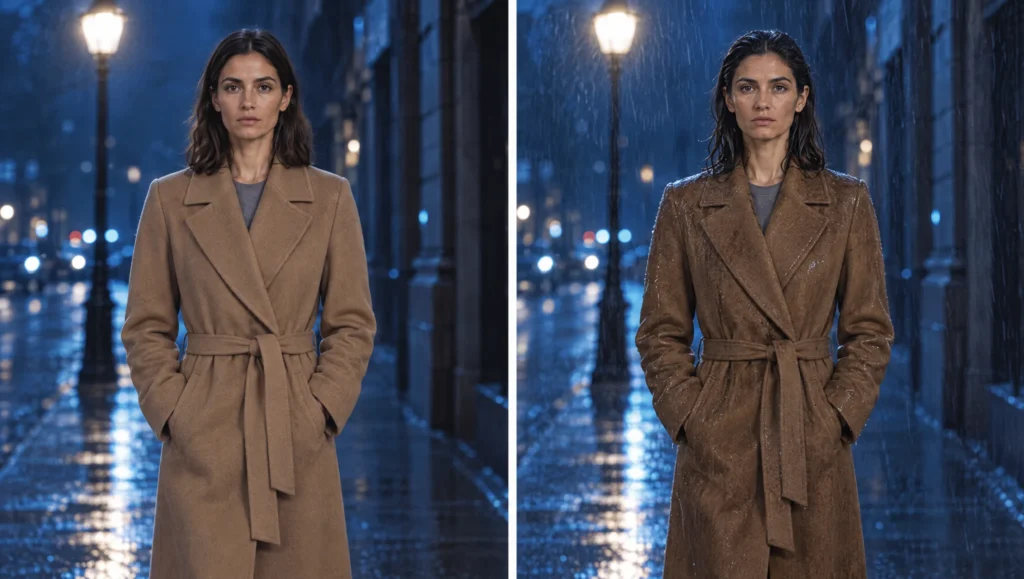
For a change that happens on screen, such as the character taking off the coat, generate the before frame first and approve it. Then generate the after frame with the approved before frame as the image reference alongside the outfit sheet. In Higgsfield, Popcorn can hold the character and location across up to eight frames in one pass, which suits a short on-screen change well.
Step 6: Audit the Change Before You Keep It
After any outfit change, compare the new frame with the outfit sheet before you move on. Do it in words, with a model that can see images, so the deviations are listed rather than felt.
Prompt 6: Outfit Change Audit (attach the outfit sheet and the new frame)
Compare image two (new scene frame) with image one (outfit reference sheet). List every difference in the outfit only: colour, fabric, fit, closure, footwear, signature details, jewellery. Then list any difference in the face or hair. Rate the outfit match from 1 to 10. Say nothing about composition or lighting unless it has changed the apparent colour of a garment.If the outfit scores 8 or more and the face has not moved, keep the frame. If the outfit has drifted, correct it rather than rerolling.
Prompt 7: Outfit Correction (Character tab: your Soul ID · image references: the drifted frame and the outfit sheet)
Keep image one exactly as it is: same composition, same pose, same face, same lighting. Correct only the outfit so it matches image two: [LIST THE DEVIATIONS FROM THE AUDIT]. Change nothing else.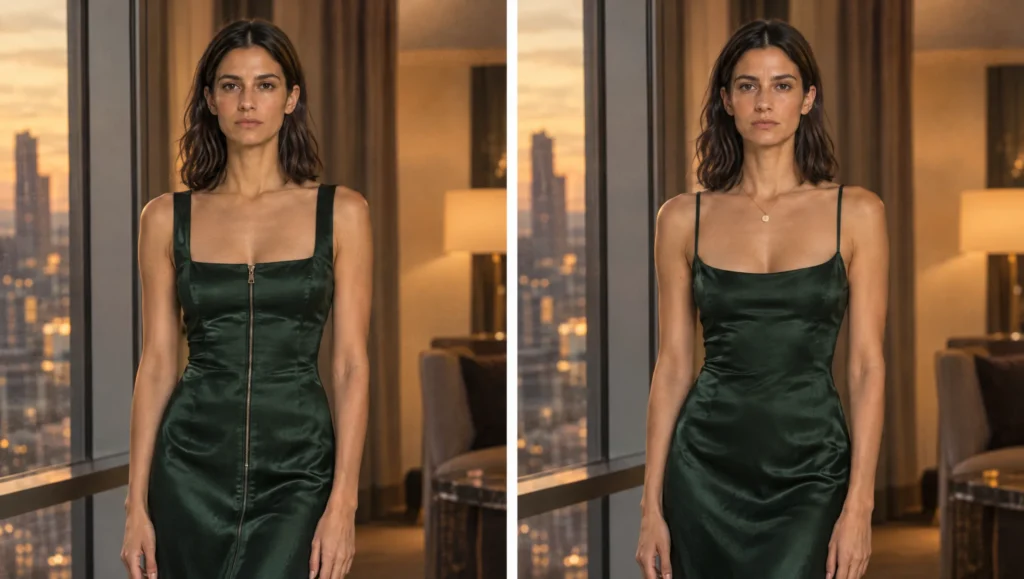
Correction keeps your approved composition and fixes the one thing that is wrong. Rerolling throws the composition away and gives drift a second chance.
The Ghost of the Old Coat
The most common failure after an outfit change is the old outfit creeping back a few scenes later. A collar in the wrong colour, the buttons from the coat on the new jacket, a hem that belongs to the dress. It has three causes, and all three are reference contamination.
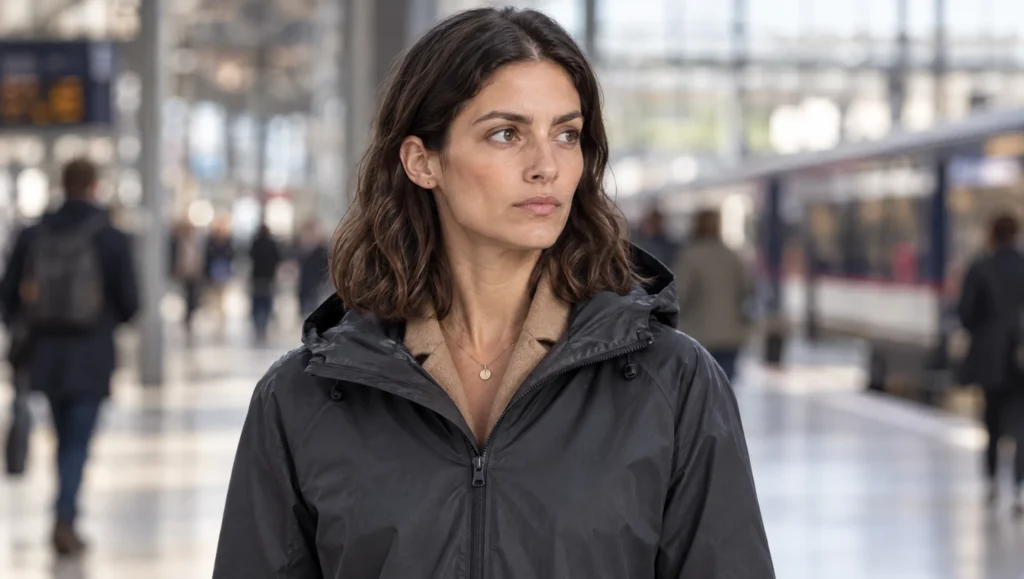
The first is attaching a scene frame that shows the old outfit as the reference for a new scene. Next comes a Soul ID trained on frames that included the old outfit. Last is a prompt that still carries words from the old lock, often a signature detail that was never deleted.
The cure is the same in every case. Reference only the identity and the current outfit sheet. Train only on clean identity frames. Paste the current lock from the file, never from the last prompt.
Common mistake
Using the last frame as the reference for the new outfit. It feels like the safest way to keep the character, because that frame is the character. It also contains the old coat, the old light and the old location, and the model will try to keep all of it. For an outfit change, the reference is the Soul ID plus the new outfit sheet. The previous frame is for continuity within an outfit, not across one.
Quick version
Keep the face in the Soul ID and the clothes in a lock and a sheet per outfit. Write a wardrobe plan so every scene names its outfit. Change the outfit in a scene by swapping the sheet and the lock, with no mention of the face or the old clothes. Add wet, torn or coat-off as a one-line state on top of the existing lock. Audit each change against the sheet and correct rather than reroll.
Your move
Pick the one scene in your current project where the outfit changes. Run Prompt 1 on the scenes around it, write the second outfit’s lock with Prompt 2, and generate its reference sheet before you touch the scene itself.
Get the prompts. All seven prompts from this guide are in the free Prompt Library under Wardrobe, with the identity and continuity sets alongside them.
Related articles
- how to create a consistent AI character from scratch
- how to keep an AI character’s wardrobe consistent across scenes
- how to build an AI character sheet in Higgsfield
- how to fix faces that change between AI shots
Paid next step: The AI Character Continuity System, the complete method with 72 prompts, the full character sheet, a wardrobe plan template, a correction library and a worked example.
Frequently Asked Questions
Can a Soul ID change clothes?
Yes. Soul ID holds the face and body, not the clothing. Clothing comes from the prompt and the image reference, which is why each outfit needs its own lock and reference sheet.
How many outfits can one character have?
As many as the story needs, as long as each one has a lock and a sheet. Keep the number low. Every outfit is another thing to keep consistent.
Why does my character’s face change when I change the outfit?
The identity and the outfit were generated as one thing. Separate them: a clean Soul ID or turnaround for the face, and a reference sheet per outfit. Then change only the outfit layer.
Should I write a new lock for a wet or torn version of an outfit?
No. Keep the original lock word for word and add a one-line state after it. A new lock is a new place for drift to begin.



Read the Comments +