AI FILMMAKING · HOW-TO GUIDE
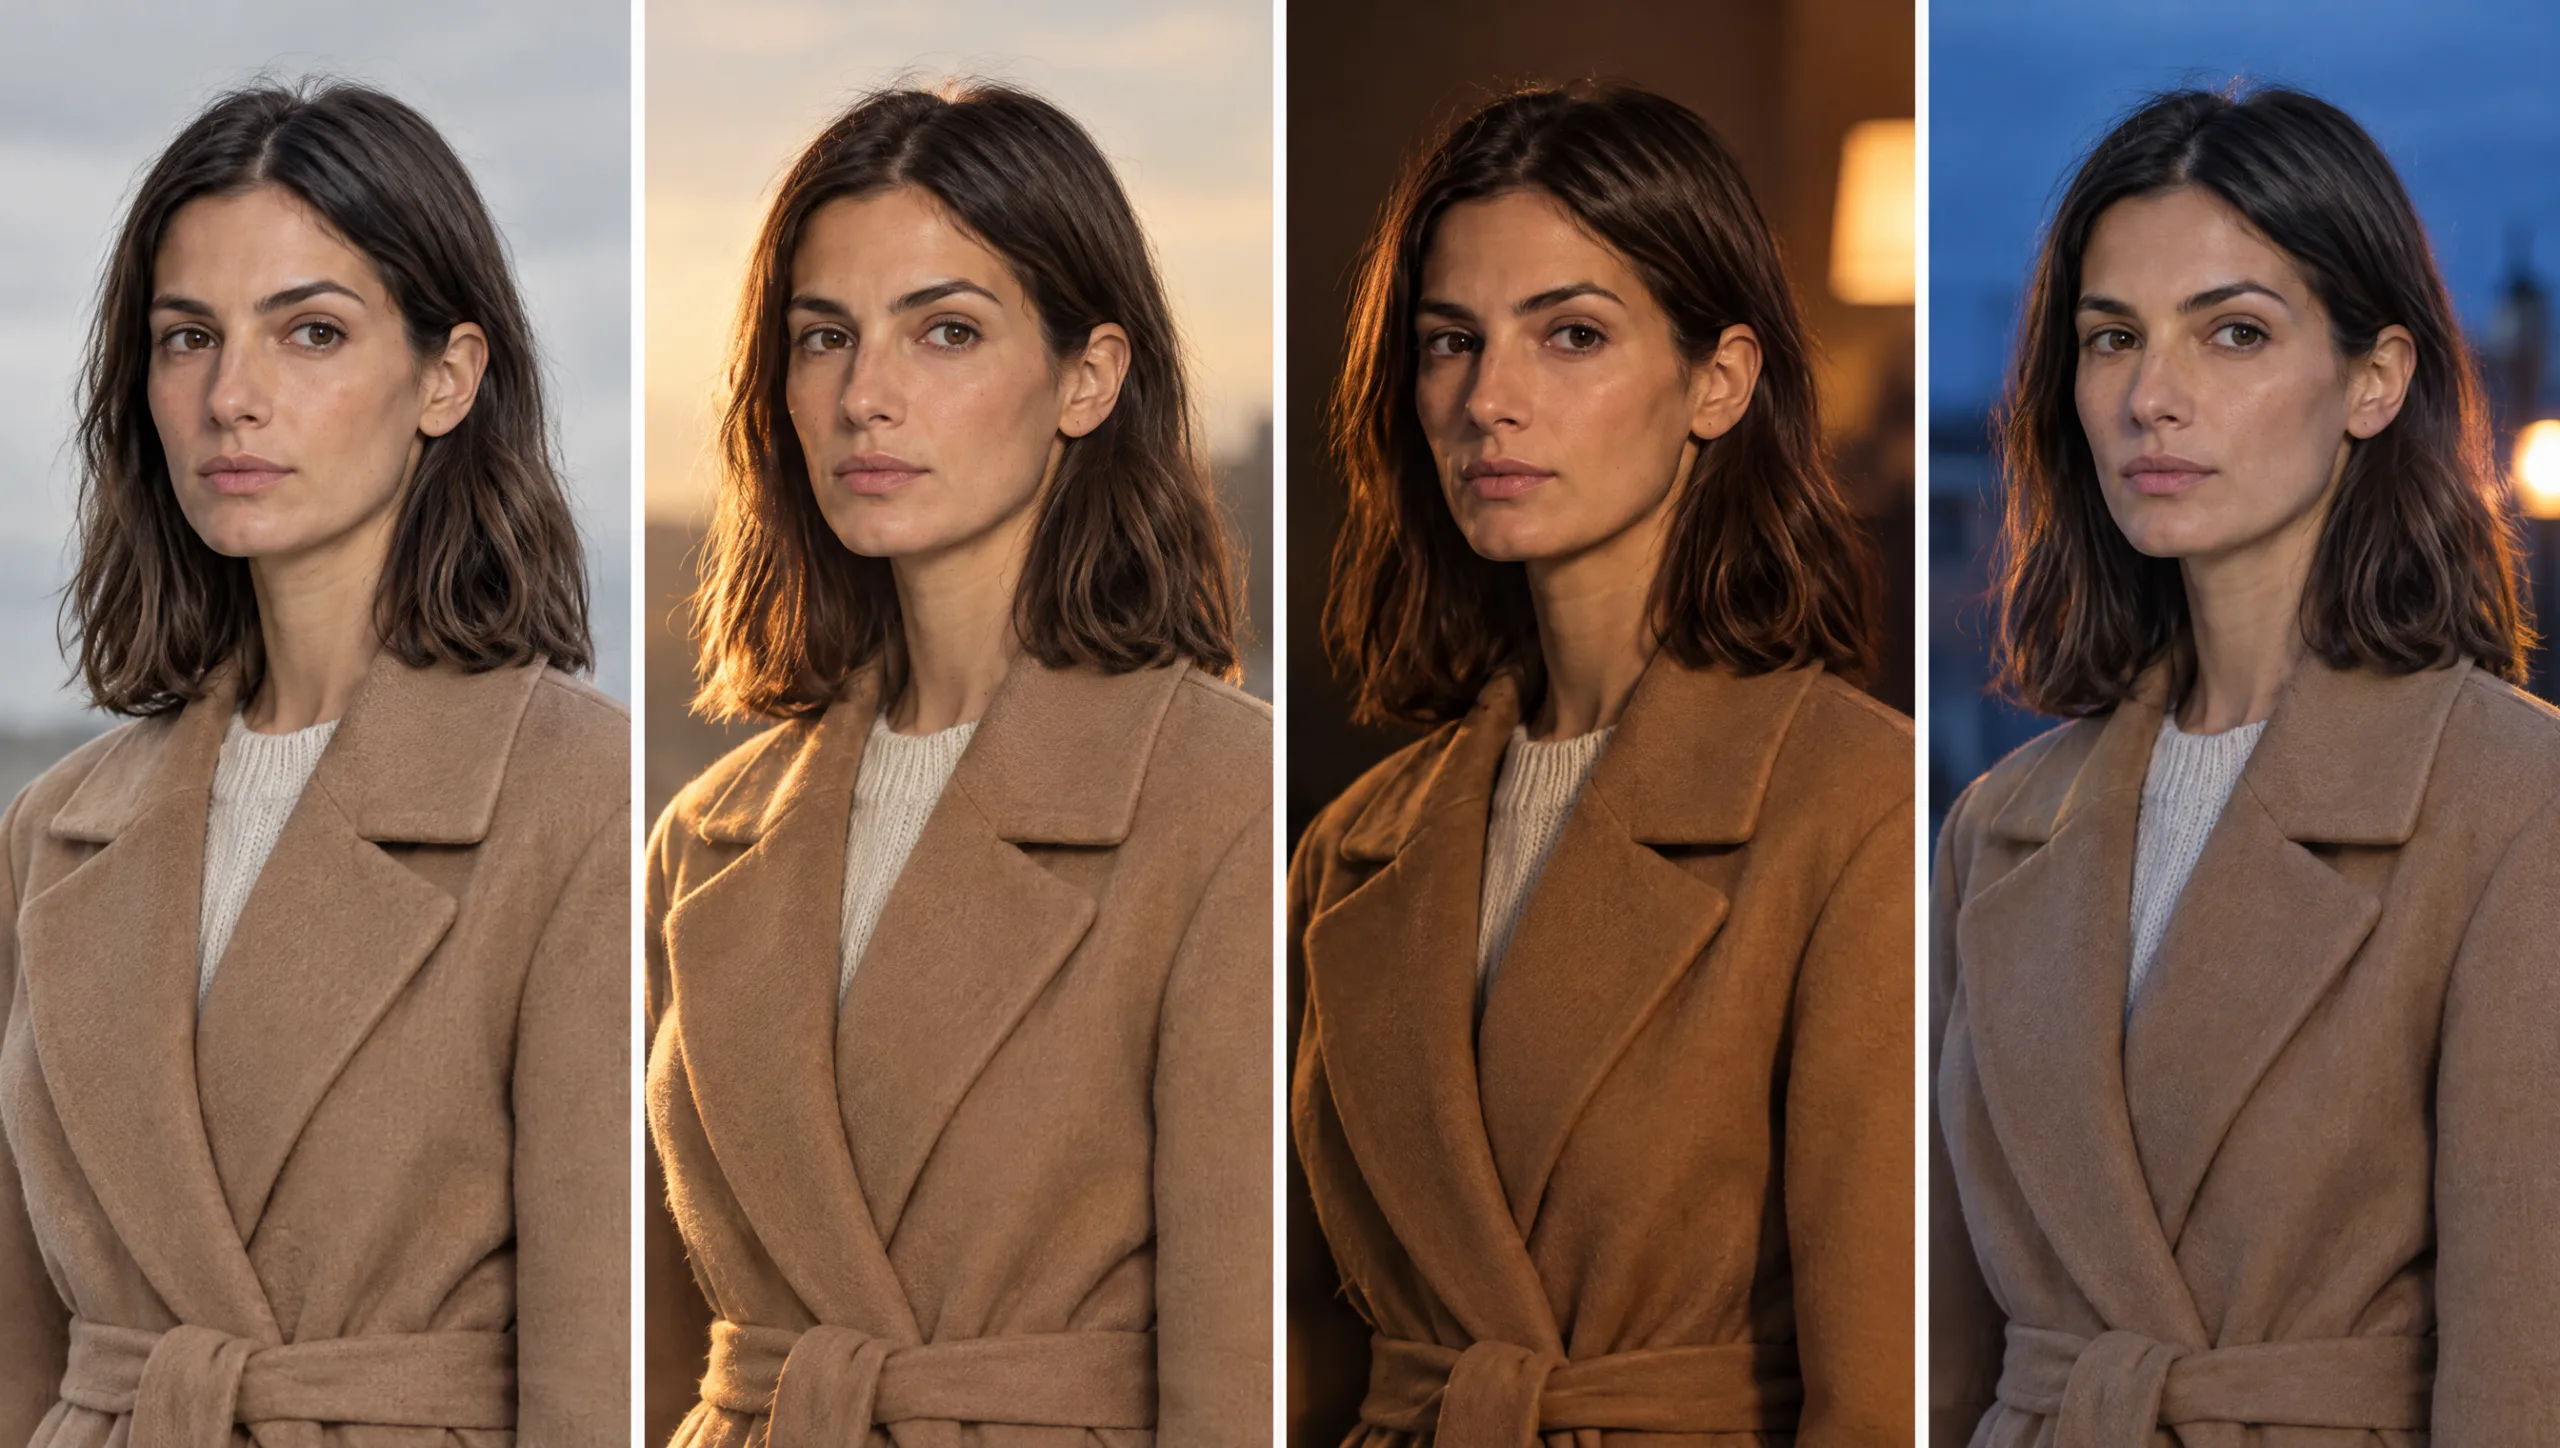
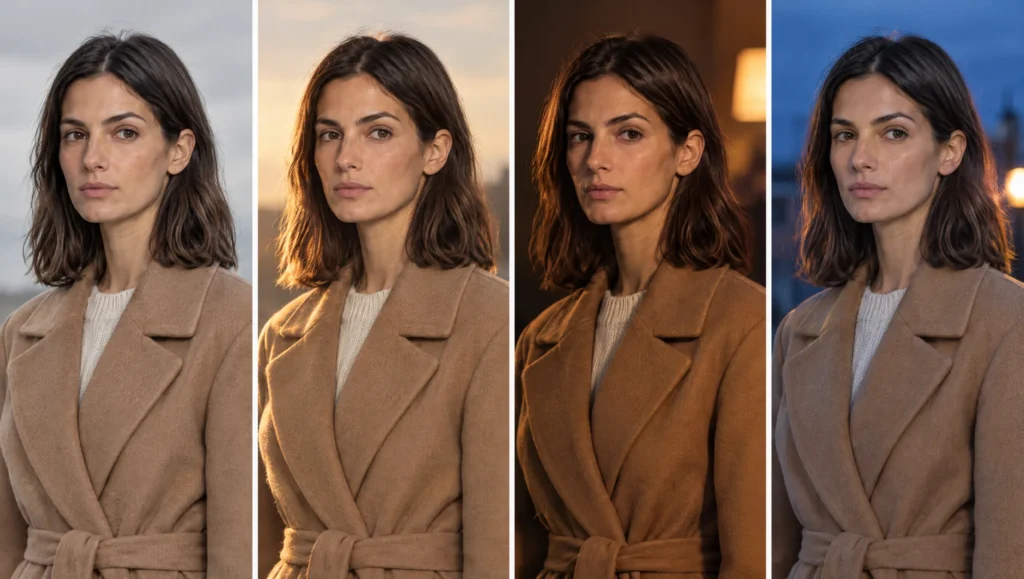
The wide shot is warm. The close-up, generated two minutes later, is cool, and her skin has gone grey with it. The key light that was on the left of her face is now on the right, and the camel coat has turned orange. Nothing about the character changed, and yet she looks like a different person because the light did. AI lighting consistency is the least discussed layer of a consistent character and the one that breaks most quietly. The fix is the same as every other layer. Write the light once, in a fixed structure with no mood words. Lock it for the scene, and anchor the colours it is not allowed to move. This guide gives you the four-part lighting line, a lighting lock per scene and the colour anchor. It adds twelve copyable lighting lines, and an audit for when the key swaps sides.
At a glance
- Write every lighting line in four parts: key, direction, colour, fill.
- Lock the lighting line per scene and paste it unchanged into every shot.
- Add a colour anchor for skin tone and wardrobe so the light cannot recolour them.
- Match the key side to the camera side when you cut between angles.
- Use the twelve lighting lines as a starting library.
- Audit for a swapped key and a shifted colour before you keep a frame.
You will need: a consistent character with an outfit lock, the scene formula, and the four-lights sheet from the identity set if you trained a Soul ID.
Why Light Breaks a Character
The model does not separate the light from the person. If you write “golden, cinematic, moody”, it does not add light to a fixed face. It regenerates the face as it imagines a golden, cinematic, moody person. That person is usually younger, smoother and a different colour. Light words move the face as much as they move the light.
The second problem is direction. Left unspecified, the model puts the key light wherever the composition suggests. When you change the camera angle, the suggestion changes. Two shots with the key on different sides do not cut; the audience feels a jump without knowing why.
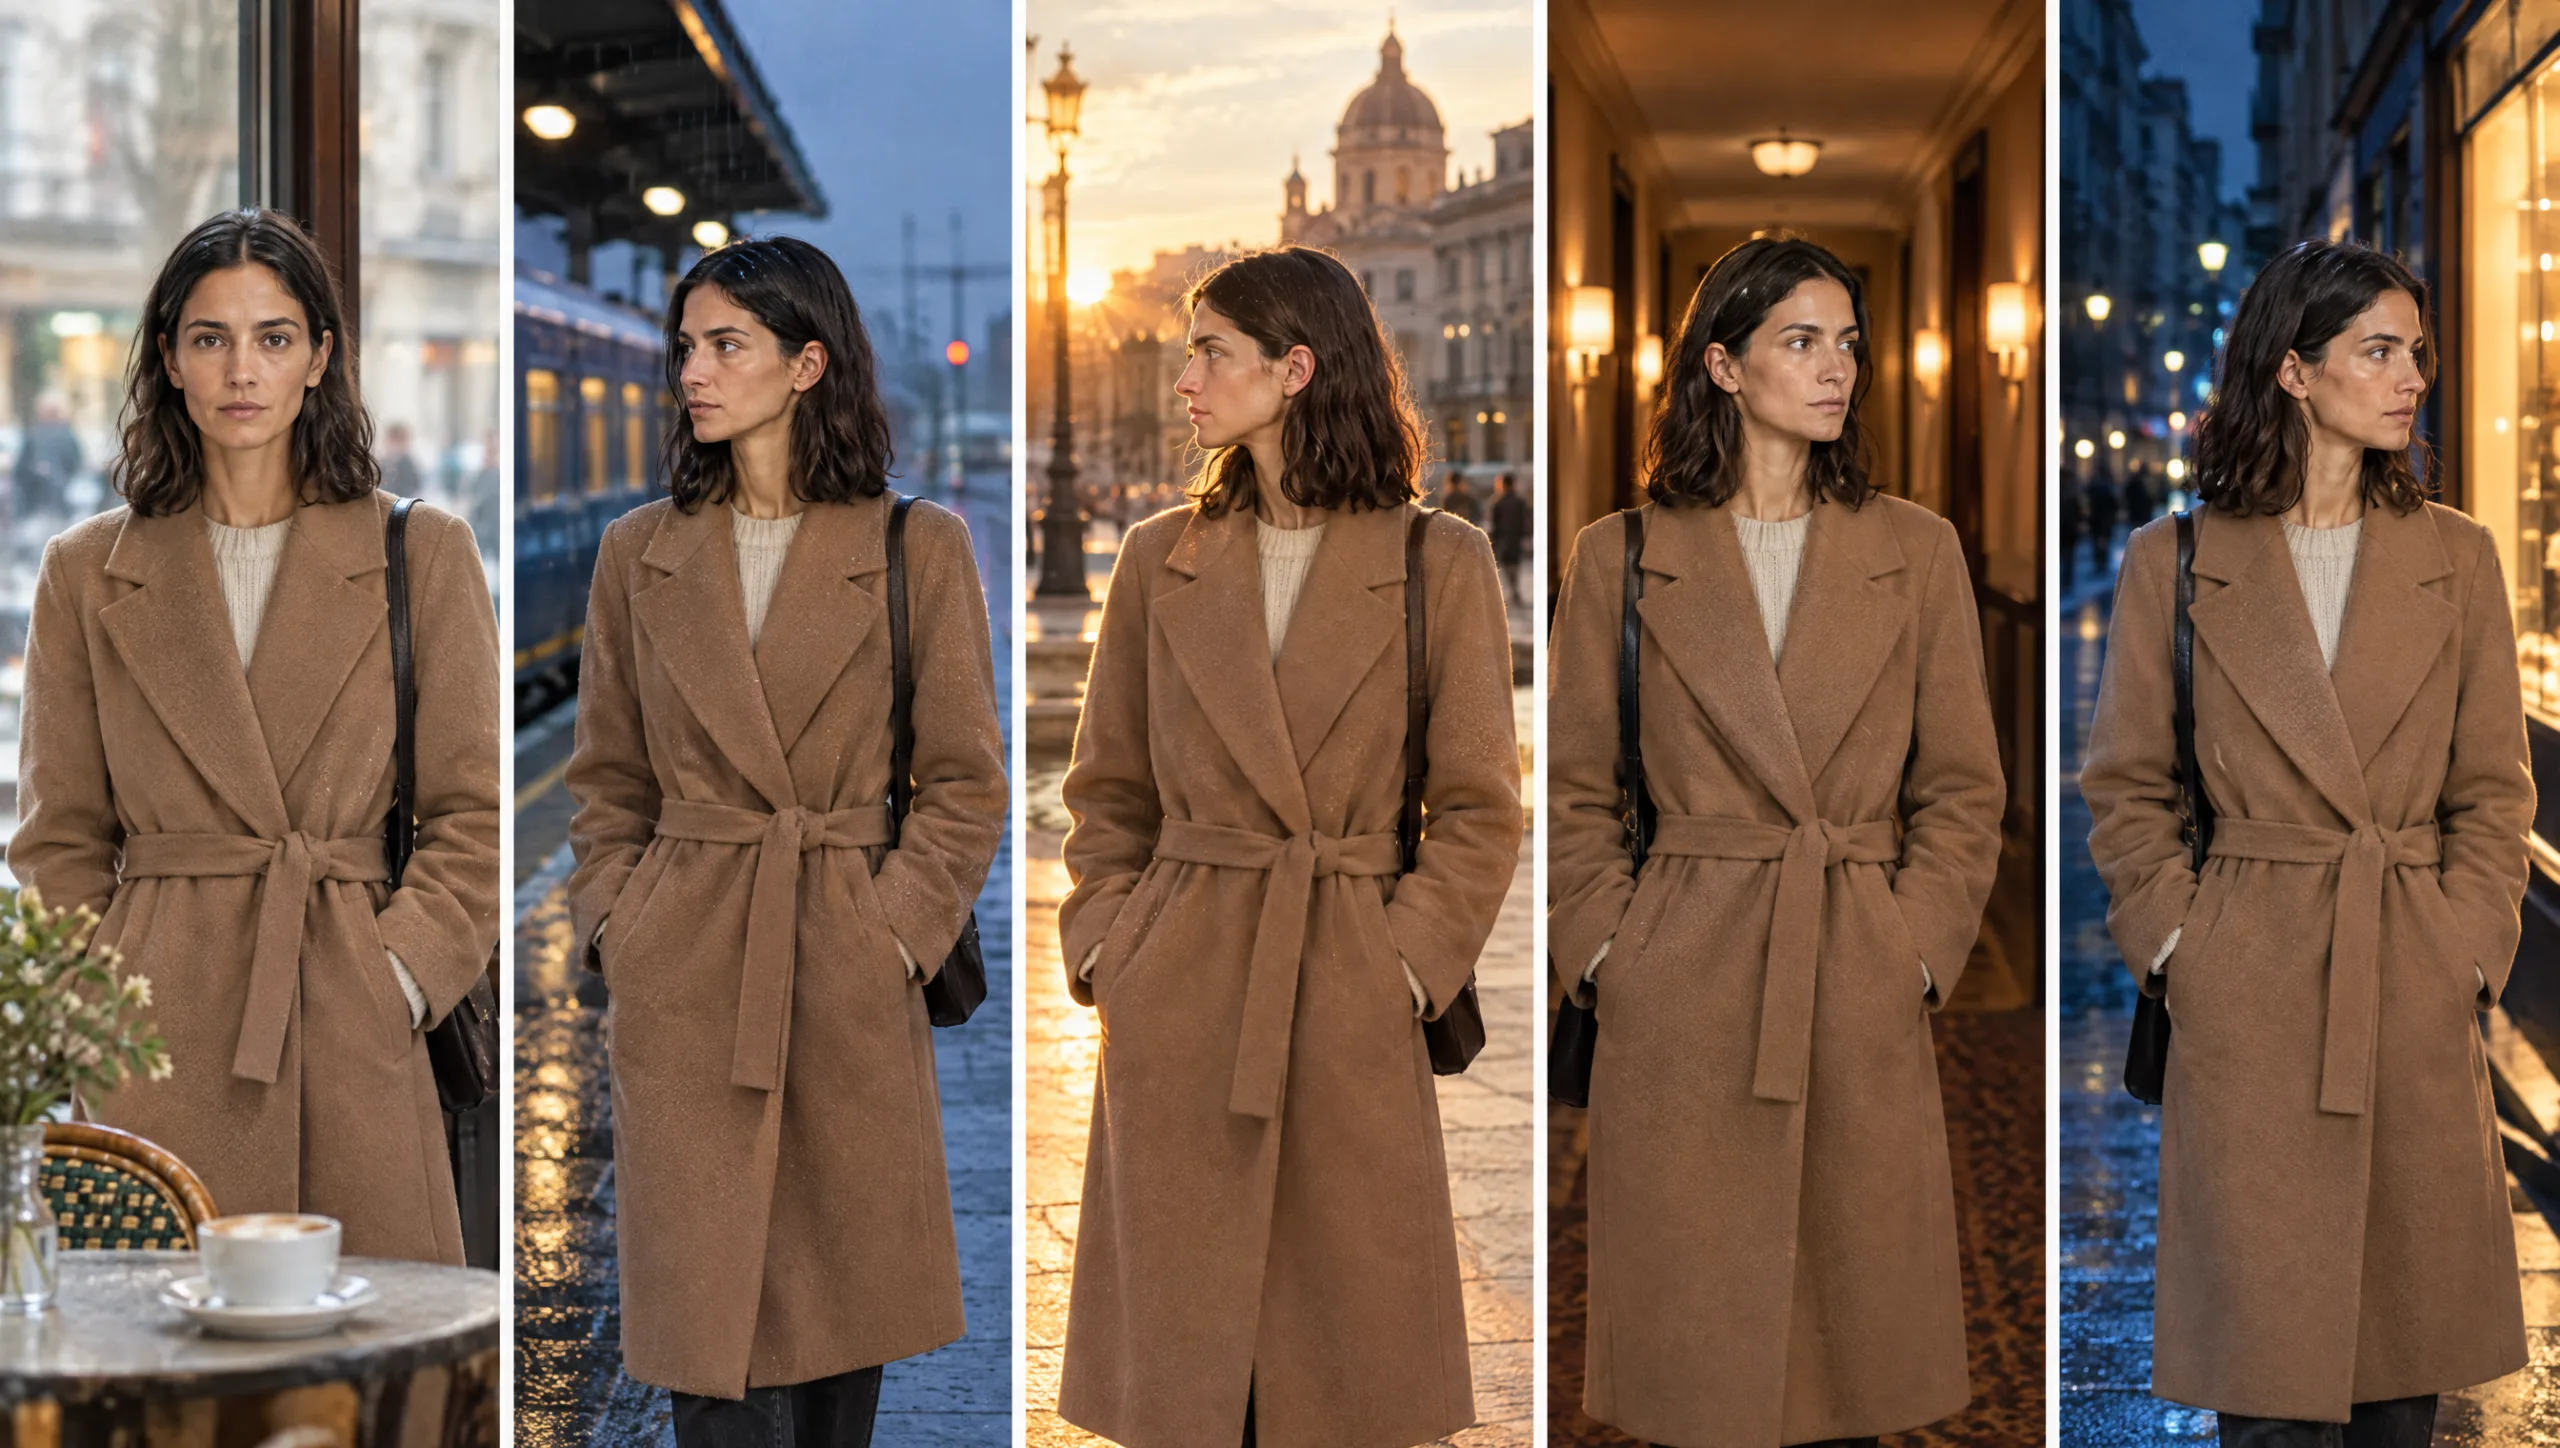
The third is colour. Warm light on a camel coat makes it orange; cool light on it makes it grey. If the lock says camel and the light says orange, the model picks one. The outfit drifts.
Step 1: Write the Lighting Line in Four Parts
A lighting line names four things, always in the same order. The key is what the main light is. Direction is where it comes from, relative to the camera. Colour is its temperature or tint. Fill is how much the shadows are lifted and by what.
“Key: soft overcast daylight. Direction: from camera left, slightly above. Colour: neutral, slightly cool. Fill: open shadows from the bright pavement.” That is a light a cinematographer could set, and it is a light the model can hold.
Prompt 1: Lighting Line Writer (run in Claude or ChatGPT)
Write a one-line lighting instruction for an AI image model for the scene below, in exactly this order: Key (the main light source and its quality, hard or soft), Direction (relative to camera: left, right, front, back, and height), Colour (temperature or tint in plain words such as warm tungsten, neutral daylight, cool blue dusk), Fill (how open the shadows are and what lifts them). No mood words, no adjectives about feeling, no mention of the character. Under 35 words.

Scene: [LOCATION, TIME OF DAY, WEATHER OR INTERIOR LIGHT SOURCES]
Intended feeling (for your reference only, do not write it into the line): [ONE WORD]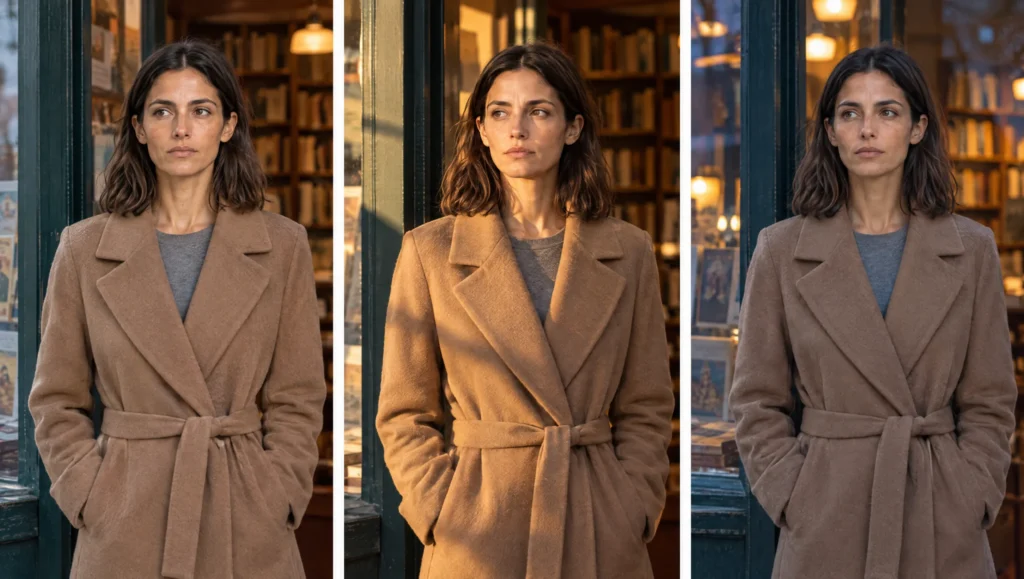
The intended feeling goes into the choice of light, never into the line. Sadness is a window on an overcast day, not the word sad.
Step 2: Lock the Light Per Scene
The lighting line is written once per scene and pasted, unchanged, into every shot in that scene. It goes into the scene log next to the location line. When the camera moves from the wide to the close-up, the line does not change, and the light does not change with it.
Sometimes the scene has a real reason for the light to change, a lamp switched on or a cloud passing. That is a new lighting line and a new row in the log. The change is written as an action in the shot where it happens.
Step 3: Anchor the Colours the Light Must Not Move
Light changes how colours look. The model will happily change the colour itself instead of the look. The colour anchor stops that. It is one sentence after the lighting line that names the skin tone and the main wardrobe colour and tells the model they are fixed.
Prompt 2: Colour Anchor (add after the lighting line in any scene prompt)
The light changes only the shadows and highlights. [CHARACTER NAME]'s skin tone stays [SKIN TONE AS IN THE DESCRIPTION] and the [MAIN GARMENT] stays [EXACT COLOUR FROM THE LOCK], read as that colour under this light.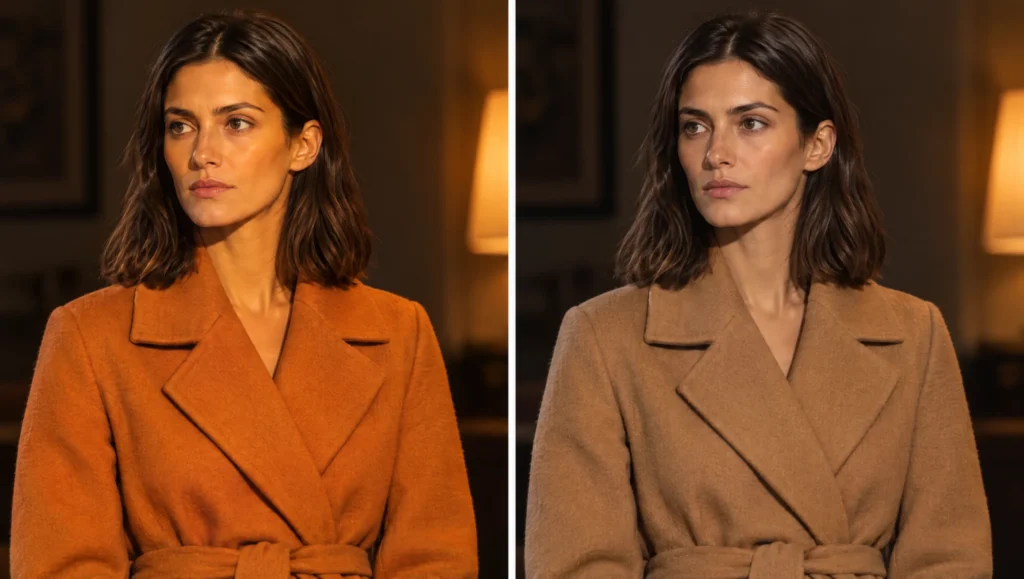
“Read as that colour under this light” is the phrase that does the work. It lets the camel coat look warmer in tungsten without becoming an orange coat.
Step 4: Match the Key Side to the Camera Side
When you cut from a wide to a close-up, or between two characters, the key light has to stay on the same side of the face. That is the whole rule. In the lighting line, the direction is written relative to the camera. When the camera moves, the direction word may need to flip to keep the light physically where it was.
The rule is simple. Decide where the light is in the room, not in the frame. Then, for each shot, write the direction as that light appears from the new camera position. A window on the character’s left is “from camera left” in a frontal shot and “from camera right” in a reverse. If this is confusing, draw the room once with the light marked, and read the direction off the drawing for each shot.
Step 5: Twelve Lighting Lines to Start From
These are lighting lines I return to, each written in the four-part structure. Paste one into the scene formula, adjust the direction to your camera, and keep it for the whole scene.
Prompt 3: The Lighting Library (paste one line into the Lighting slot of the scene formula)
1. Soft overcast daylight, from camera left and above, neutral slightly cool, open shadows from the pavement.
2. Hard midday sun, from above and camera right, neutral warm, deep shadows with little fill.
3. Golden hour sunlight, low from camera left, warm amber, soft fill from the sky.
4. Blue hour after sunset, ambient from all sides, cool blue, no hard shadows, one warm practical in the background.
5. Window light interior, from camera left, neutral daylight, shadows lifted by a pale wall on the right.
6. Single tungsten lamp interior, from camera right at head height, warm orange, dark shadows with no fill.
7. Candlelight, from below and camera front, deep warm, soft flicker, background falling to black.
8. Fluorescent interior, from directly above, cool green-white, flat with almost no shadows.
9. Street light at night, from above and slightly behind, sodium warm, face in half shadow, cool blue ambient fill.
10. Car interior at night, from the dashboard below and camera front, cool blue-white, warm passing lights on the side.
11. Firelight exterior, from camera right at waist height, warm orange, cool moonlight fill from the left.
12. Rain at dusk, soft ambient from above, cool grey-blue, wet surfaces reflecting warm shop light from behind.
Step 6: Audit for a Swapped Key or a Shifted Colour
A lighting fault is easy to feel and hard to see. Run the audit on the first frame of each scene and on any frame where the camera crossed to the other side.
Prompt 4: Lighting Audit (attach the approved first frame of the scene as image one and the new frame as image two)
Compare the lighting in image two with image one. Answer in one line each: 1. Which side of the face is the key light on in each image? 2. Is the key quality the same, hard or soft? 3. Is the colour temperature the same? 4. Has the skin tone changed in hue or brightness beyond what the light explains? 5. Has the main garment changed colour rather than only brightness? 6. Are the shadows similarly open or deep? Then say whether the two frames would cut together, and name the one lighting difference to fix first.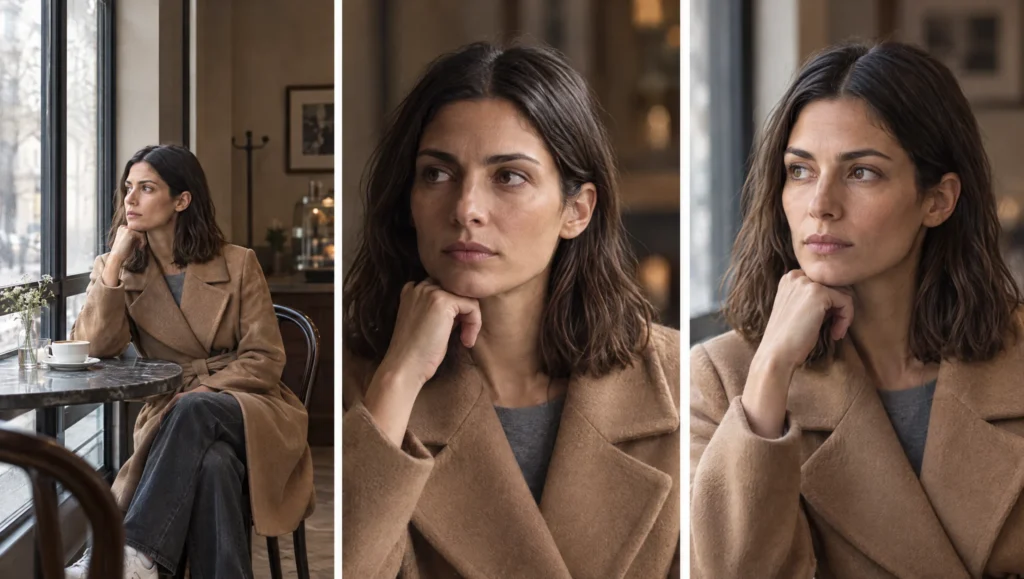
If the key has swapped sides, fix the direction word and regenerate. If the colour has shifted, add or strengthen the colour anchor and correct the frame rather than rerolling it. Use the face correction method if the skin has moved.
Light and the Identity Set
If your Soul ID was trained on a four-lights sheet, it already knows the face in daylight, golden hour, cool dusk and tungsten. It will hold under those. If a scene uses a light the set has never seen, candlelight or fluorescent, the face can drift under it. Generate a gap sheet in that light, crop it, and retrain before the scene. My guide to fixing faces that change between AI shots has the gap sheet prompt.
Common mistake
Mood words in the lighting line. Cinematic, moody, dramatic, golden, dreamy. Each one is a request to regenerate the whole frame in that mood, face included. Write the key, the direction, the colour and the fill. Let the mood come from the choice of light rather than the name of a feeling. If the line could not be set by a real lighting crew, it is not a lighting line.
Quick version
Write the lighting line in four parts: key, direction, colour, fill, with no mood words. Lock it per scene and paste it into every shot. Add a colour anchor so skin and wardrobe read as their locked colours under the light. Keep the key on the same side of the face when the camera moves. Start from the twelve lines, and audit for a swapped key or a shifted colour on every first frame.
Your move
Take the scene you are shooting now and rewrite its lighting in the four-part structure with Prompt 1. Then add the colour anchor with Prompt 2 and regenerate the close-up. Compare it with the wide.
Get the prompts. All four prompts and the twelve lighting lines are in the free Prompt Library under Lighting, with the camera and continuity sets alongside them.
Related articles
- how to write AI scene prompts with the scene formula
- how to fix faces that change between AI shots
- how to keep an AI character’s wardrobe consistent across scenes
- the AI character continuity checklist
Paid next step: The AI Character Continuity System, the complete method with 72 prompts, including the full lighting library, the colour anchors and the scene log.
Frequently Asked Questions
Why does my AI character’s skin change colour between shots?
The lighting line changed, or it contained mood words, or there was no colour anchor. Lock the line per scene and add the anchor so the skin reads as its locked tone under the light.
How do I describe lighting in an AI prompt?
Four parts in order: key, direction relative to camera, colour, fill. Plain words a lighting crew could act on. No feelings.
Should the light change between the wide and the close-up?
No. Same line, same side of the face. Only the direction word may flip when the camera crosses to the other side, so the light stays physically where it was.
Why does the coat change colour under warm light?
The model recolours the garment instead of the look of it. The colour anchor tells it the coat stays camel and only reads warmer.



Read the Comments +