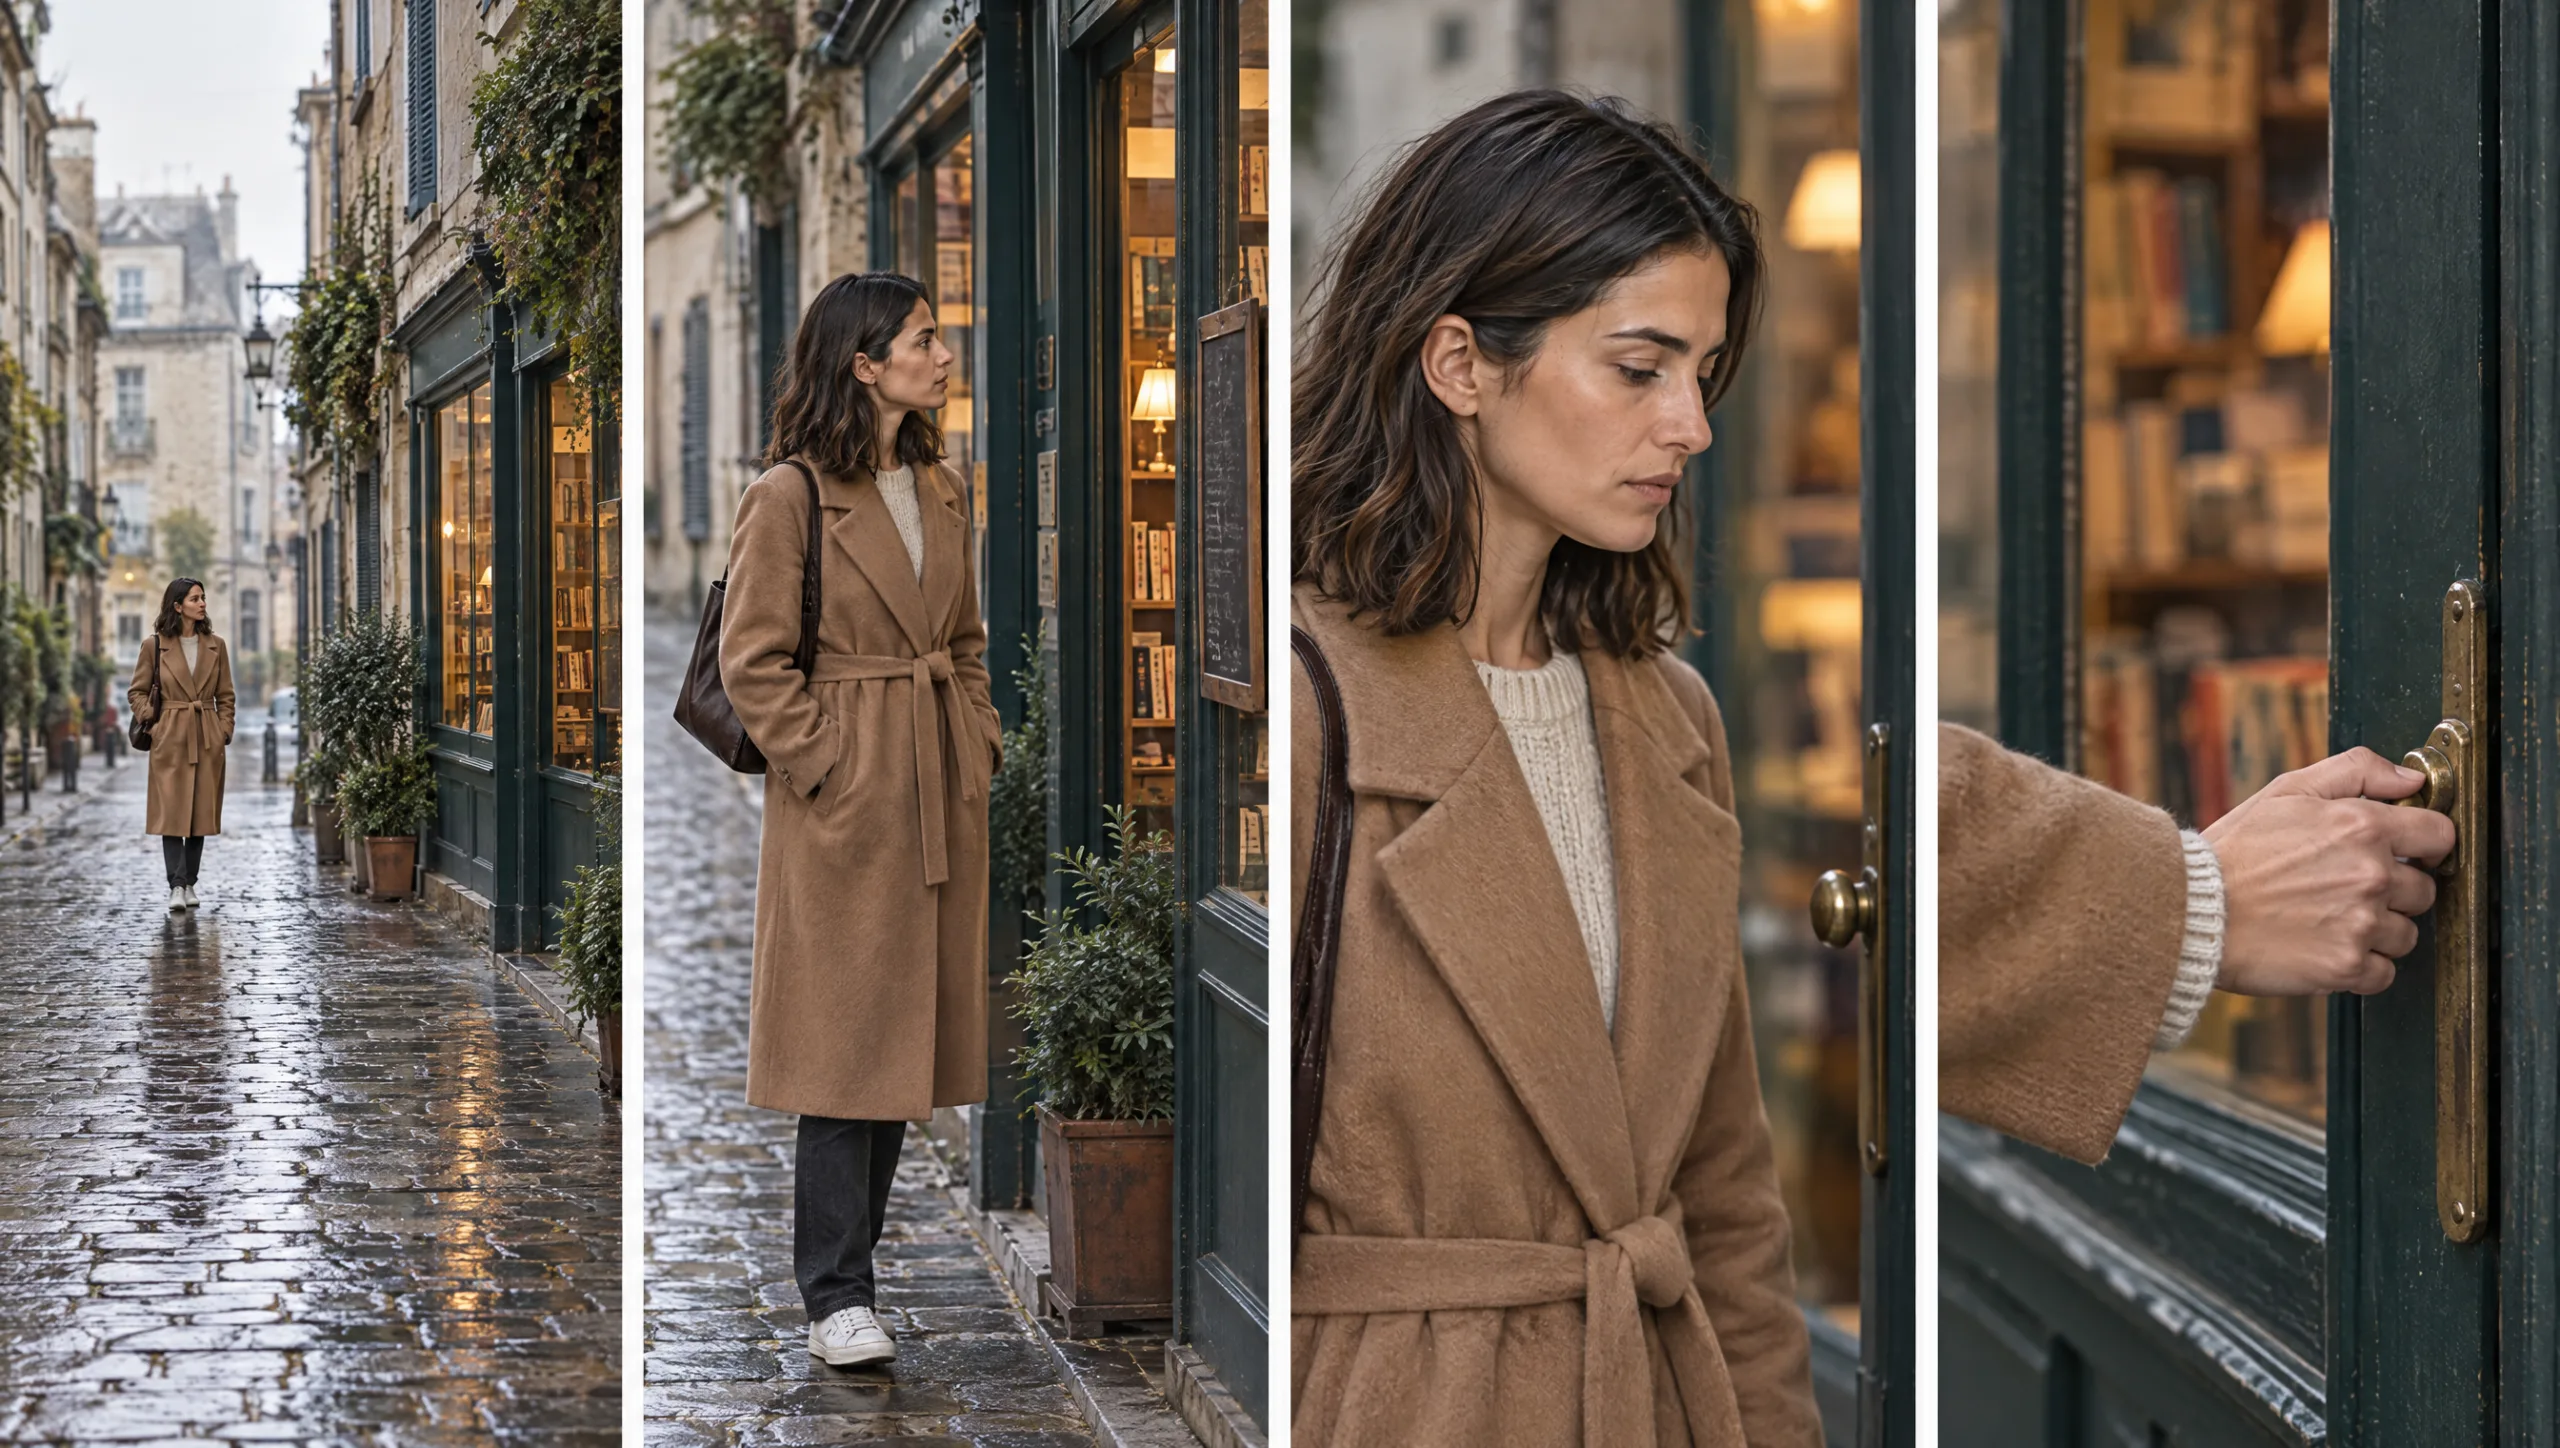
AI FILMMAKING · HOW-TO GUIDE
Most AI scene prompts are a pile of adjectives with a character somewhere in the middle. The model reads the pile and makes something beautiful, but it is never the shot you had in mind. Then the next prompt makes something else beautiful, in a different light, from a different height, and the two will not cut together. An AI scene prompt is not a description. It is a shot list entry. It works when it is written in the order a cinematographer would set up the shot: the camera first, then the person, then what she does, then what she wears, then where she is, then the light. The scene formula fixes that order. Write every scene with it, change one thing between shots, and then the shots cut. So this guide gives you the formula, the rules for each part, and ten prompts that cover a whole scene.
At a glance
- Write every scene prompt in the same eight-part order.
- Put the camera first, because the camera decides the shot.
- Describe action in one sentence and the location and the light in one line each.
- Paste the wardrobe lock and let the Soul ID carry the face.
- Change one thing between shots so the shots cut together.
- Finally, build a scene as coverage: wide, medium, close, insert.
You will need: a consistent character (a trained Soul ID or an approved turnaround), its wardrobe lock and sheet, and the scene you want to shoot written in a sentence or two.
The Scene Formula
To begin with, every scene prompt has eight parts in this order.
Shot. Shot size, lens, camera height and angle. Wide, medium, close-up or insert; 24mm, 35mm, 50mm or 85mm; eye level, low or high; straight on, three-quarter or profile.
Character. The character’s name. Nothing about the face, because the face lives in the Soul ID.
Action. What she is doing, in one sentence, in the present tense.
Wardrobe. The outfit lock, pasted word for word, plus a state line if the outfit is wet, torn or half off.
Location. One line. The place, the time of day, one or two physical details.
Lighting. One line. The key light, where it comes from, its colour, and the fill.
Realism. The style line that stays the same across the whole film: photographic realism, film grain, depth of field.
Anchor. Finally, one line that ties the face and the outfit to their references.
Written out, the formula looks like this.
Prompt 1: The Scene Formula (Character tab: your Soul ID · image reference: the outfit sheet)
[SHOT SIZE], [LENS], [CAMERA HEIGHT AND ANGLE]. [CHARACTER NAME] [ACTION IN ONE SENTENCE]. Wearing [PASTE THE OUTFIT LOCK]. Location: [PLACE, TIME OF DAY, ONE OR TWO DETAILS]. Lighting: [KEY LIGHT, DIRECTION, COLOUR, FILL]. Photographic realism, shallow depth of field, subtle film grain. The face, hairline, hair and apparent age match the trained character exactly. The outfit matches the reference sheet exactly.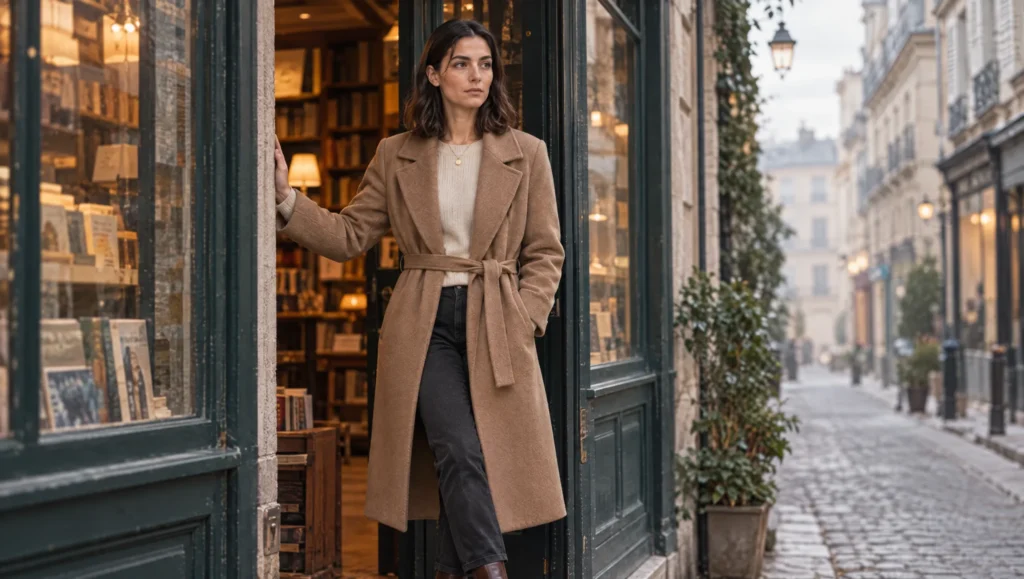
Above all, the order is the point. The model weighs what comes first, and the camera has to win, because the camera decides what the shot is.
Rule 1: The Camera Comes First
If the shot size is at the end of the prompt, the model has already decided the framing by the time it reads it. So put the shot size, the lens and the camera height in the first five words.
Pick the lens by what it does, not by what sounds professional. A 24mm wide shows the place and keeps the character small. The 35mm, by comparison, is the natural storytelling lens for medium shots. At 50mm you are close to how the eye sees, which flatters a medium close-up. Finally, an 85mm compresses the background and is the portrait lens for close-ups. Camera height, meanwhile, is a sentence about power: low makes her larger, high makes her smaller, eye level makes her a person.
Rule 2: One Sentence of Action
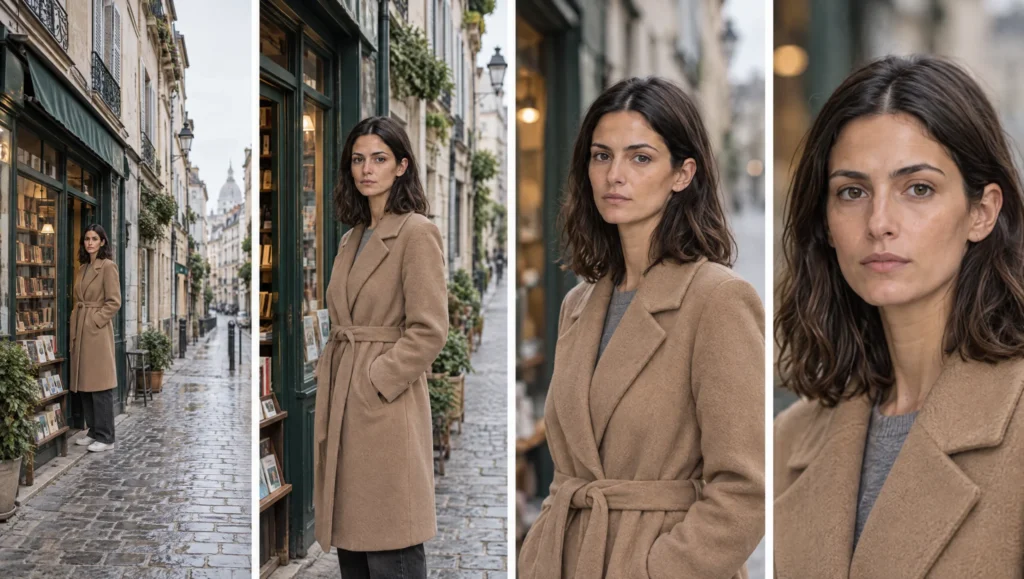
Action is one sentence, present tense, one verb that matters. “Mara pauses at the bookshop door and looks back down the street” is a shot. “Mara, feeling uncertain, hesitates nervously as she contemplates whether to leave” is a mood board. The model cannot photograph feelings, but it can photograph a pause and a look.
If the action has two beats, then that is two shots.
Rule 3: Location and Light Are One Line Each
A location line names the place, the time of day and one or two physical details that the camera can see. “A narrow European street outside a small bookshop, early morning, wet cobbles” is enough. The model fills the rest better than you can.
A lighting line names the key light, where it comes from, its colour, and the fill. “Soft overcast daylight from camera left, a warm glow from the shop interior behind her” tells the model exactly what to do. Avoid mood words here, though. Moody, dramatic and cinematic are not lights. In fact, they move the age and the face as often as they move the light.
Write the location line and the lighting line once per scene and paste them unchanged into every shot of that scene. That is what makes the shots belong to the same place. The full method for the light, together with twelve lighting lines, is in my guide to lighting an AI character the same way in every shot.
Rule 4: Let the References Carry the Character
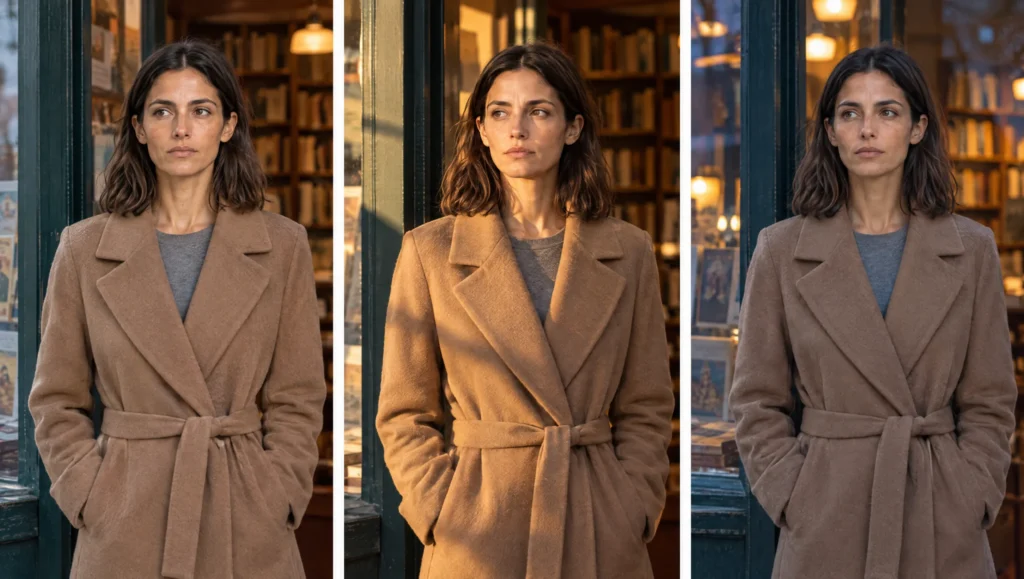
Nothing about the face goes into a scene prompt beyond the anchor line. Instead, the Soul ID holds the face. The outfit lock, pasted unchanged, holds the clothes, and the outfit sheet is attached as the image reference. Describing the face again gives the model a second opinion, and the second opinion is where drift gets in.
If you are not using a Soul ID, then attach the turnaround and the outfit sheet together, and keep the anchor line.
Rule 5: Change One Thing Between Shots
Two shots cut together when almost everything about them is the same. Inside a scene, the location line, the lighting line, the wardrobe and the realism line never change. Between shots you change the camera, or the action, and not both at once unless the story needs it.
The easiest way to hold this is to write the scene once as a block, then write each shot by editing only the first sentence and the action.
Building a Scene: Ten Prompts
Here is one scene, Mara arriving at the bookshop, written as coverage. Every prompt shares the same wardrobe, location, lighting and realism lines, so only the camera and the action move. Of course, replace the character, the lock and the scene lines with your own.
The shared lines for this scene are: Wearing [OUTFIT A LOCK]. Location: a narrow European street outside a small bookshop, early morning, wet cobbles. Lighting: soft overcast daylight from camera left, a warm glow from the shop interior. Photographic realism, shallow depth of field, subtle film grain. The face, hairline, hair and apparent age match the trained character exactly. The outfit matches the reference sheet exactly.
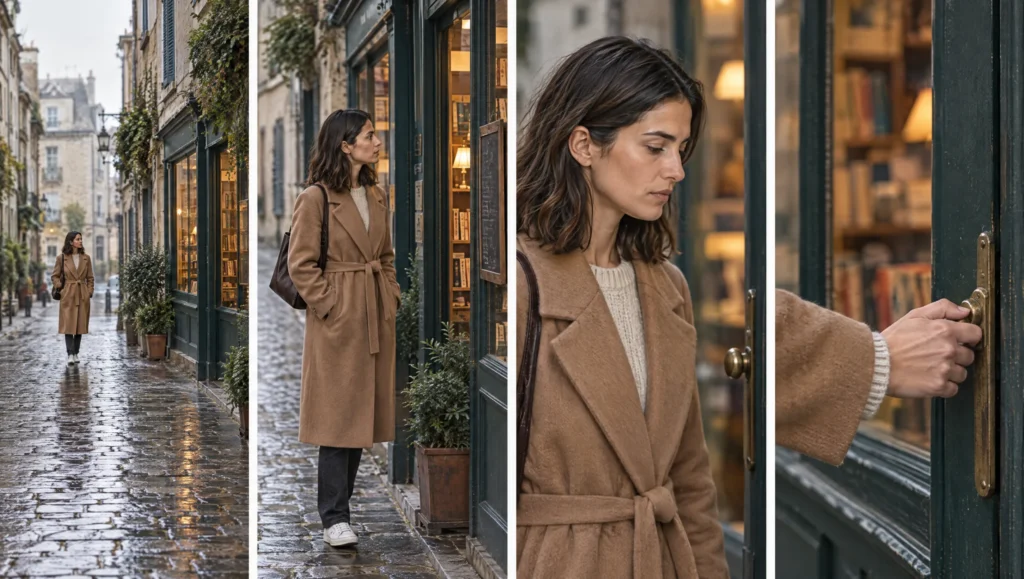
Prompt 2: Establishing Wide
First, the wide shows the place and keeps Mara small in it.
Wide shot, 24mm lens, eye level, straight on. Mara walks down the street towards the bookshop, small in the frame. [SHARED LINES].Prompt 3: Medium Approach
Next, the medium brings her to the door.
Medium shot, 35mm lens, eye level, three-quarter angle. Mara slows as she reaches the bookshop door, then reads the sign. [SHARED LINES].Prompt 4: Close-Up Decision
Then the close-up gives the decision a face.
Close-up, 85mm lens, eye level, straight on. Mara looks at the door handle and takes a breath. [SHARED LINES].Prompt 5: Insert
After that, the insert gives the cut something to land on.
Insert, 85mm lens, slightly high angle. Mara's hand rests on the brass door handle. [SHARED LINES].Prompt 6: Over the Shoulder
The over-the-shoulder reveals the shop as she does, so the audience enters with her.
Medium close-up, 50mm lens, eye level, from behind Mara's right shoulder. Mara pushes the door open so that the shop interior comes into view. [SHARED LINES].Prompt 7: Low Angle Entrance
A low angle makes the shelves tower, because the room should feel bigger than her for a beat.
Medium shot, 35mm lens, low angle, straight on. Mara steps into the doorway, then looks up at the shelves. [SHARED LINES].Prompt 8: Profile Beat
In contrast, the profile looks back the way she came.
Medium close-up, 50mm lens, eye level, true profile. Mara stands in the doorway and looks back down the street. [SHARED LINES].Prompt 9: High Angle Wide
The high angle, meanwhile, shows how alone she is in the street.
Wide shot, 24mm lens, high angle from across the street. Mara stands alone in the bookshop doorway, the street empty around her. [SHARED LINES].Prompt 10: Tracking Move
The tracking move is for when you need movement rather than a cut.
Medium shot, 35mm lens, eye level, camera moving alongside. Mara walks the last few steps to the door while the shop fronts slide past behind her. [SHARED LINES].Prompt 11: Final Close
Finally, the close pays the scene off.
Close-up, 85mm lens, eye level, three-quarter angle. Mara smiles very slightly, then steps inside. [SHARED LINES].Generate the wide first and approve it. Then carry the approved wide forward as a second image reference for the medium, the medium for the close, and so on. Each shot is built on an approved frame from the same scene rather than on a fresh roll.
When the Shot Is Right and the Character Is Wrong
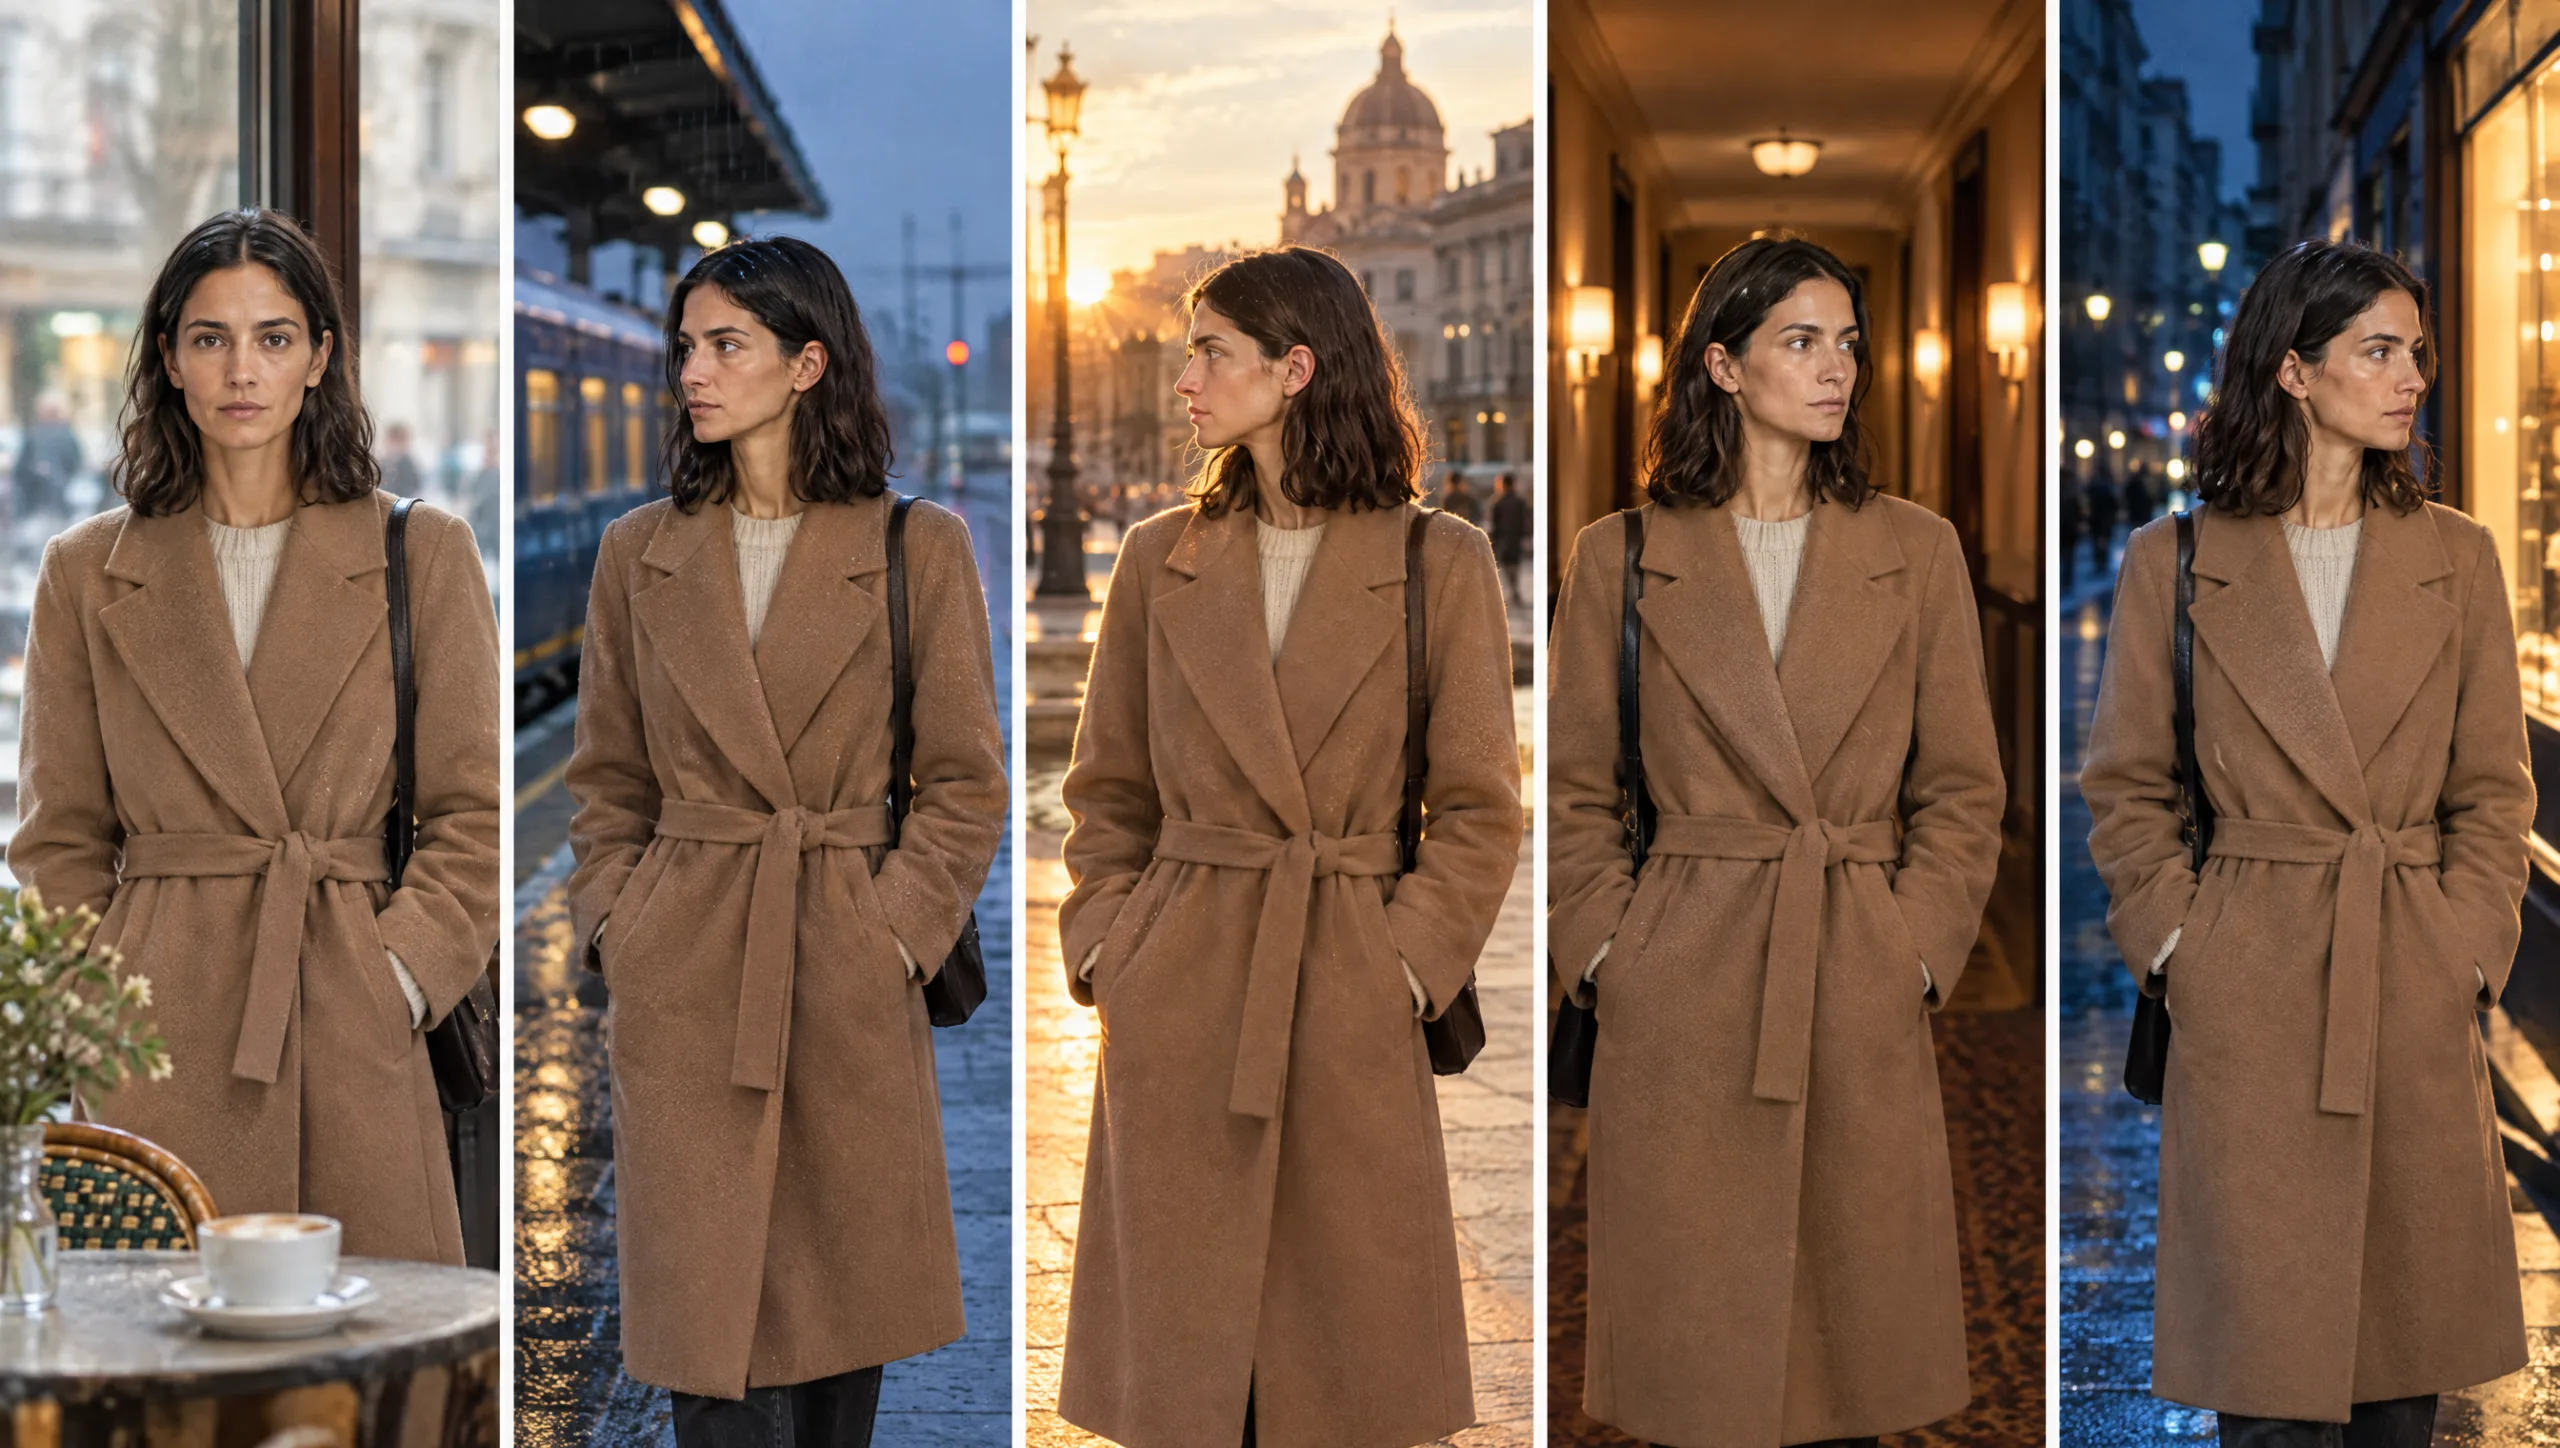
The scene formula gives you the shot, but it does not, on its own, guarantee the character. When the face or the outfit has moved, the fix is a correction rather than a reroll. My guide to fixing faces that change between AI shots covers the face, and the outfit change guide covers the clothes. For the character setup the formula depends on, start with the complete method for a consistent AI character.
Common mistake
Stacking adjectives instead of setting up a shot. Cinematic, moody, dramatic, stunning, 8K, masterpiece. None of these is a camera position or a light. The model gives each of them a vote, so the shot you wanted loses the election. Instead, write the camera, the action, the place and the light, and leave the adjectives out. The realism line is the only style you need, and it never changes.
Quick version
Eight parts in a fixed order: shot, character, action, wardrobe, location, lighting, realism, anchor. Camera first. One sentence of action. Location and light one line each, written once per scene and pasted into every shot. The Soul ID carries the face and the lock carries the clothes. Then change one thing between shots. Finally, shoot coverage: wide, medium, close, insert.
Your move
Take the scene you are working on now and write its location line and lighting line, one line each. Then write the wide shot with Prompt 2 and do not touch the shared lines again for the rest of the scene.
Get the prompts. All eleven prompts from this guide are in the free Prompt Library under Camera, together with the lighting and location sets.
Related articles
- how to write a 50-second story for an AI short film
- how to create a consistent AI character from scratch
- how to fix faces that change between AI shots
- how to change an AI character’s outfit without losing the character
Paid next step: The AI Character Continuity System, the complete method with 72 prompts, including the full scene formula set, the lighting library and the scene log.
Frequently Asked Questions
What is the best structure for an AI scene prompt?
Camera first, then character, action, wardrobe, location, lighting, realism and an anchor line, in that order. The order matters because the model weighs what comes first.
Which lens should I write in an AI scene prompt?
24mm for wide shots that show the place, 35mm for medium shots, 50mm for medium close-ups, 85mm for close-ups and inserts. In short, pick the lens by what it does to the frame.
Why do my AI shots not cut together?
Because something other than the camera changed between them. So keep the location, lighting, wardrobe and realism lines identical within a scene and change only the camera or the action.
Should I describe the character’s face in a scene prompt?
No, because a trained Soul ID or an attached turnaround carries the face. A one-line anchor is enough, and describing the face again invites drift.


Read the Comments +